This post will highlight the Yanhua Digimaster 3 operation guide including odometer correction and key programming.
Odometer Adjustment
-IC Adjusting
-ICP Adjusting
-OBD Adjusting
Key Programming
-Take Mercedes Benz/BMW for example
In detail…
1.IC Adjusting
De-solder the chip from the odometer, and solder it back after adjusted.
Note: To make sure the data was safe, please save the original data before change it by yourself.
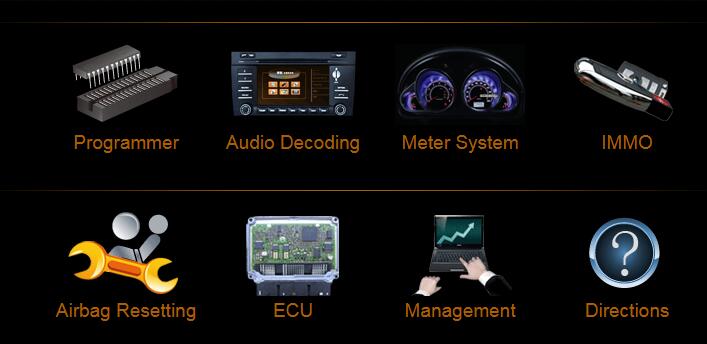
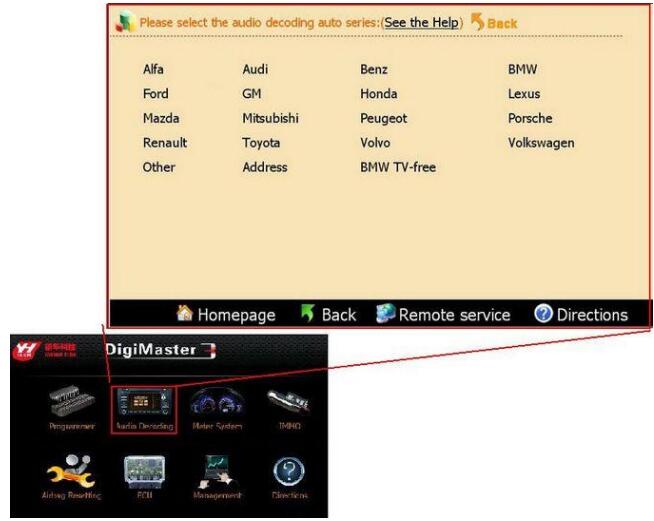
Step 1: Click on “Odo adjuster”on the homepage
Choose the car model of the odometer.
For example: American vehicles- Chrysler

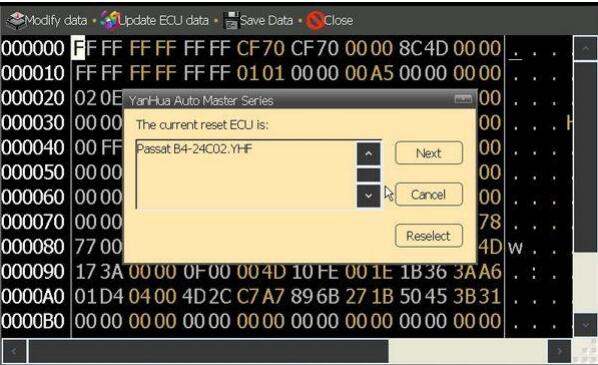
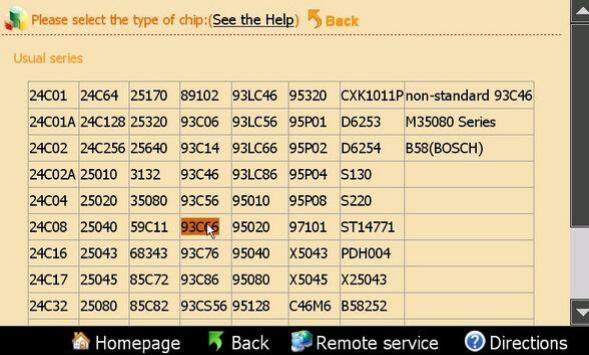
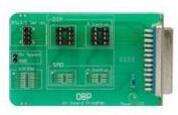
Step 2: Take Dodge Ram for example, de-solder the memory chip on the odometer board, and solder the chip to the OBP adapter.

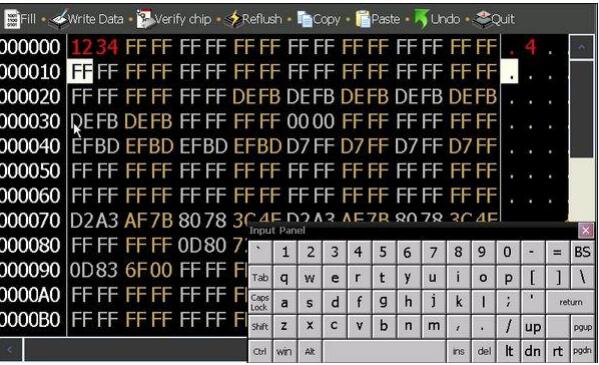
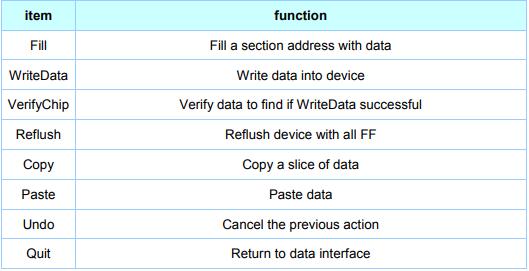
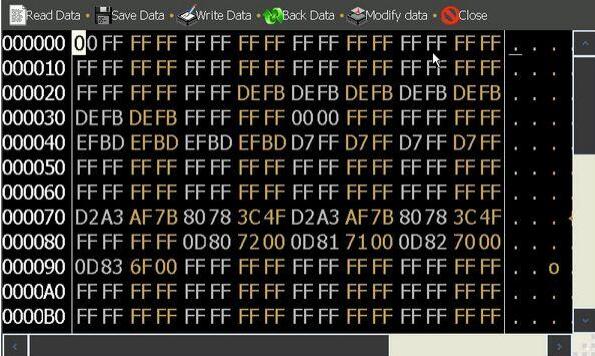
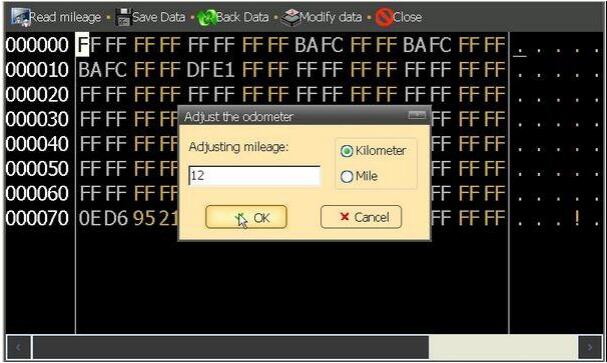
Step 3: Save the data and enter the expected mileage

Step 4: Adjust succeed, click on “Exit”.
Solder the chip back to the odometer
2.ICP Adjusting
Take American vehicles- Chrysler- 300K for example:
Step 1: Enter Digimater 3 odometer correction master main menu
Choose “Program BCM module”
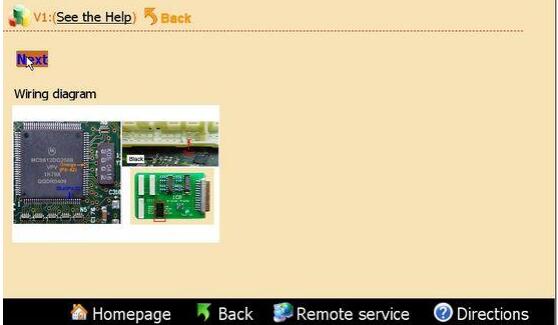
Solder the wires to the welding spot of the odometer
Then click “Next”

Step 2: Save the data and enter the expected mileage

Step 3: After it prompted succeed, click on “close”
De-solder the wires off the odometer
3.OBD Adjusting
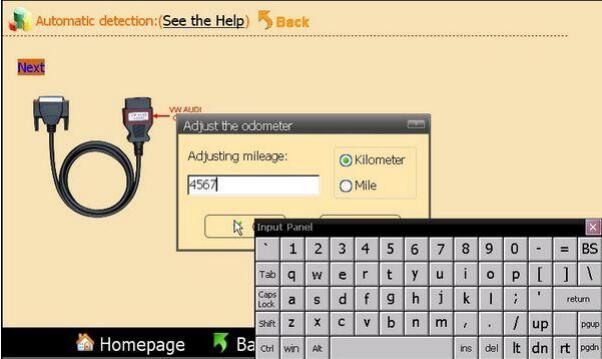
Take European Vehicles- VW for example
Step 1: Choose “Diagnosis”
In this page it list all the models that can be adjusted via OBD way,
here we choose “Auto detect”, it can identify the car model
automatically

Step 2: Check the outfit of the cable
Insert the OBD cable to the Diagnosis port
Click “Next”
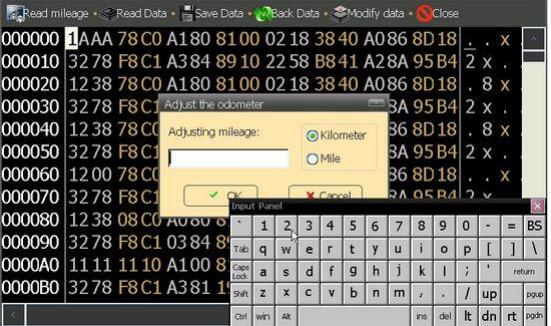
Step 3: Enter the expected mileage

Key Programming
Take Mercedes-Benz W220 for example
Step 1: Open Digimaster III key programmer
Enter the Mercedes Benz Key programming page
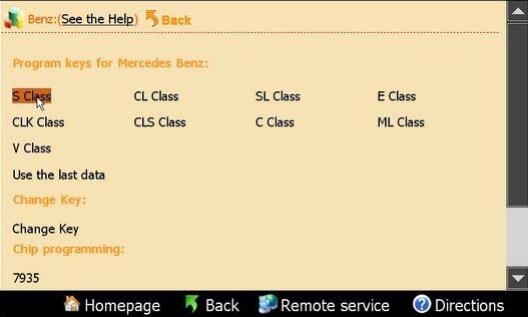
Step 2: Select “S Class”-> “Automatic mode”
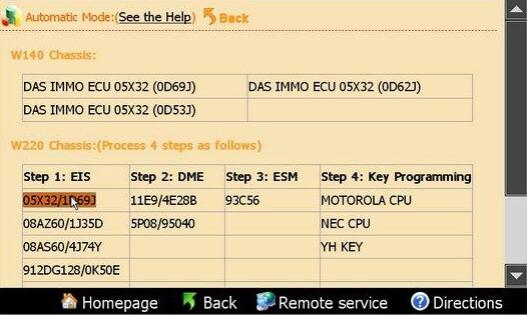
You will see there are 3 steps to program the key for Benz W220

Step 3:
First step, program EIS, select 05X32/1D69J to enter the following page

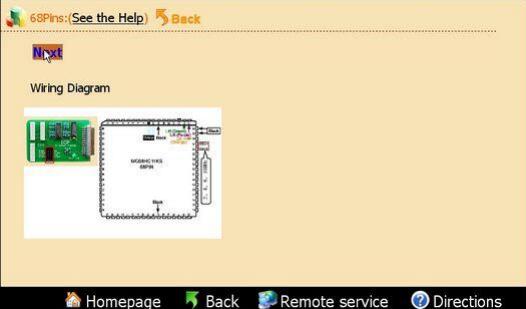
1)De-solder the two CPU according to the diagram
Solder them to the adapters (to avoid mix up please mark the two CPU before taking them off)

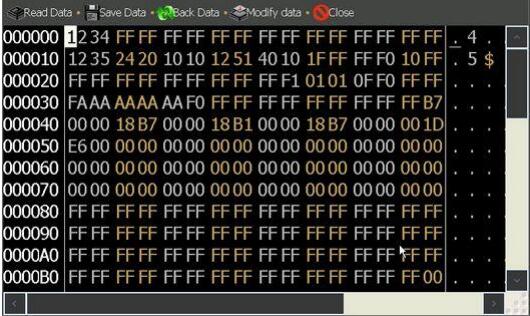
2) Read the data is complete
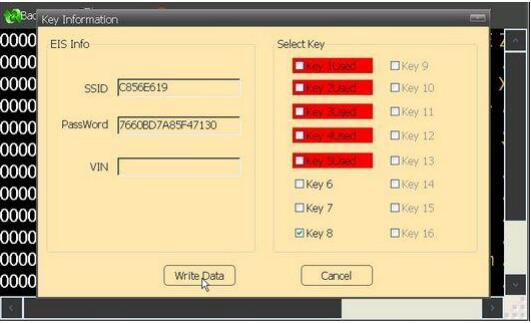
It will show the SSID information etc.
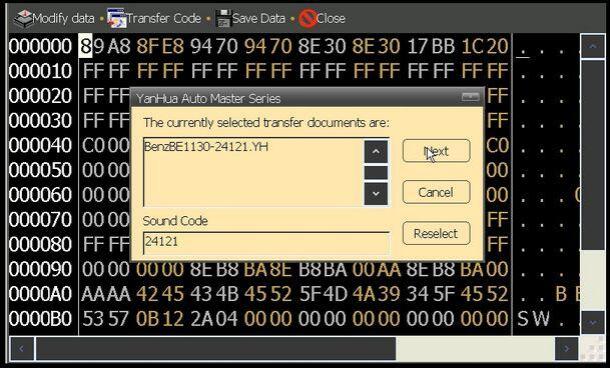
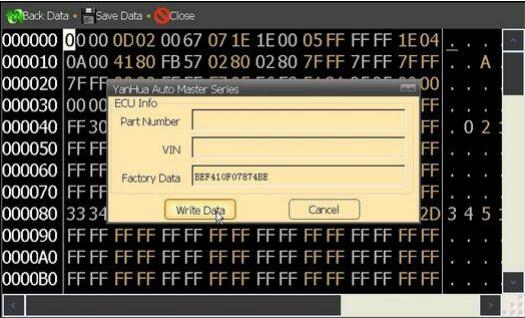
Choose the key number you want and then click “Write data” to finish the EIS adjust

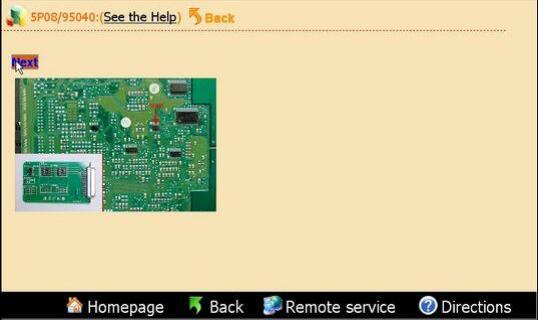
Step 4: step 2, DME. Take 95040 for example
1)Check the picture and remove the chip to the adapter, click “Next”

2)After read the data, it will show the ECU information, click “Write data” to finish the ECU programming.

Step 5: Step 3, ESL.
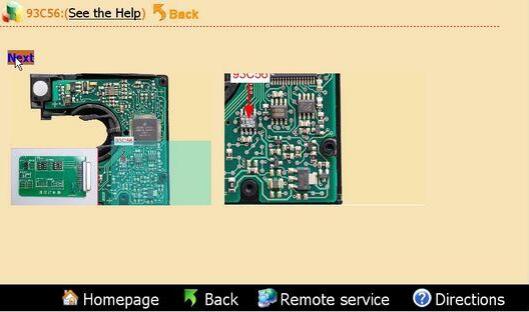
1)Check the picture and remove the chip to the adapter, click “Next”.

2)Click “Write data” to finish this step

Step 6: Step 4, key programming (this step is based on the data of
step 1, if not implemented “Step 1”, this step cannot be operated). Take
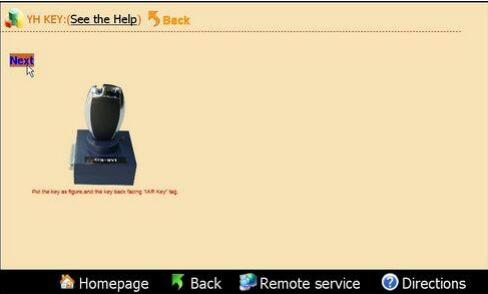
YH Key for example.
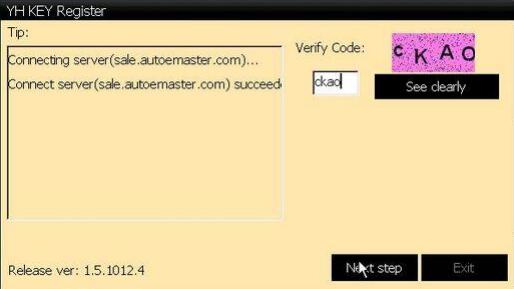
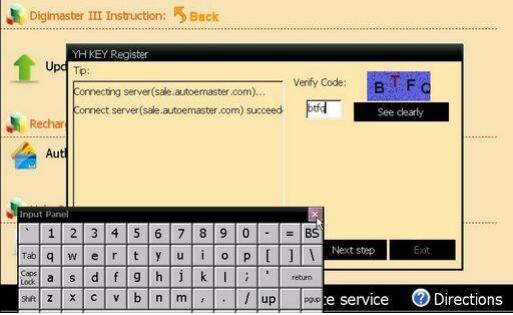
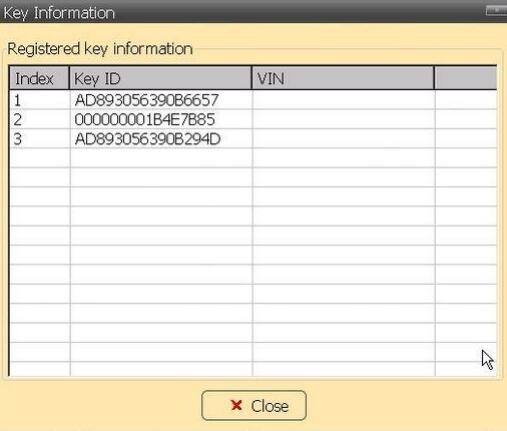
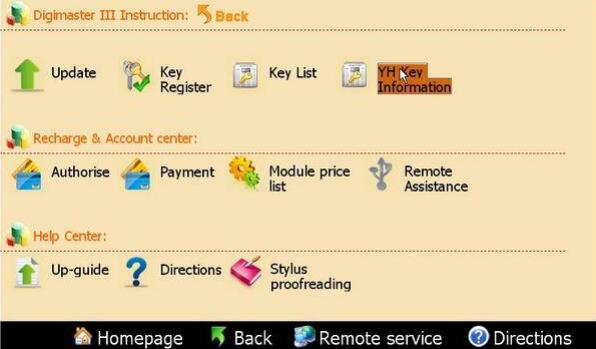
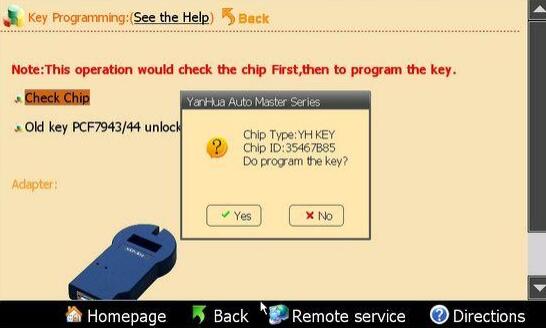
1)Before program the YH Key please make sure it was registered.

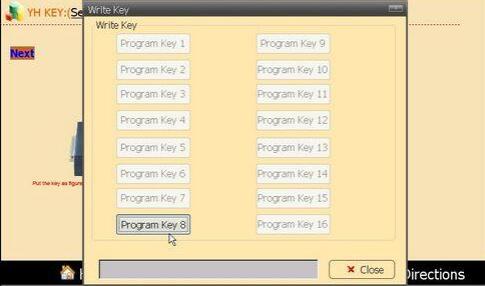
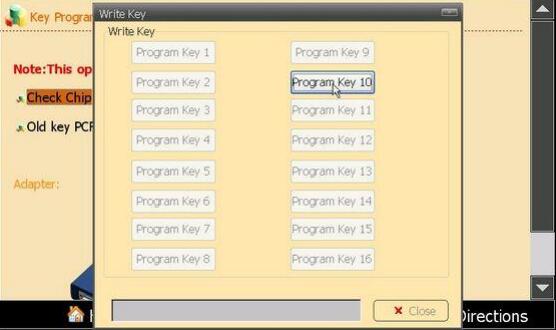
2)Choose the key No. to begin key programming

Take BMW for example
Step 1: Go to the BMW Key programming page

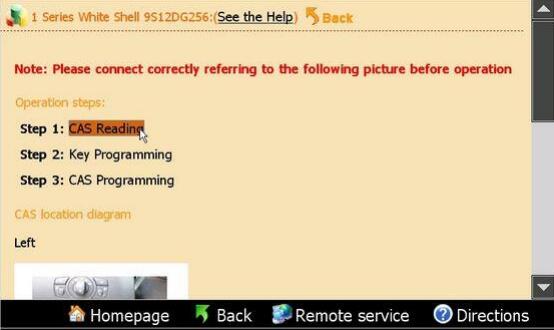
Step 2: Take “9S12 Adapter – Automatic mode – CAS2 1 Series White shell CAS” for example

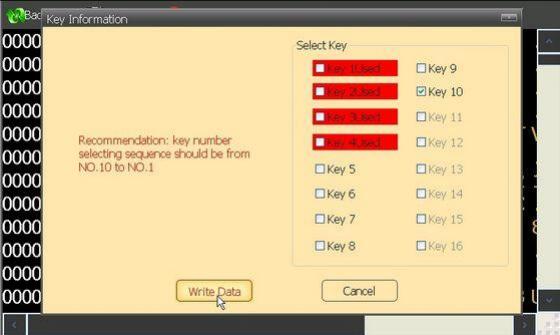
Step 3: Click “Step 1: CAS Reading”. After read the data the
following interface come up, the red key No. has been used. Choose the
Key No. you want and click “Next” to finish the first step.

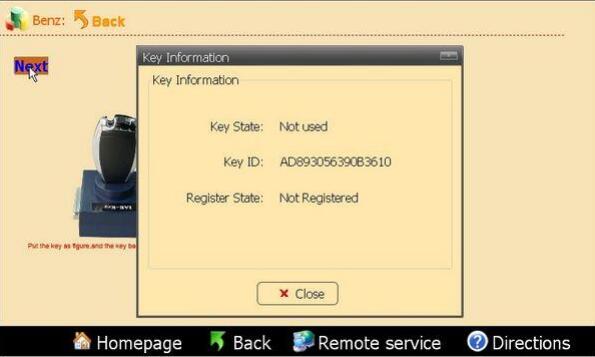
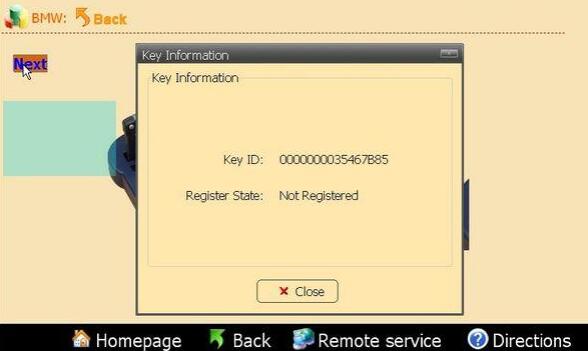
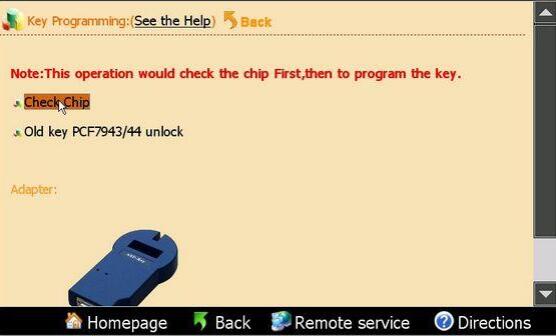
Step 4: Choose “Step 2: Key programming”. Place the key in the slot
of the adapter (If the key is YH Key please make sure it was registered
before programming). Click “Next”. The pop-up dialogue will show the
information of the current key.


Step 5: Choose the Key No. you want to program, it will pop-up the tokens dialogue box, click “Next” to continue.

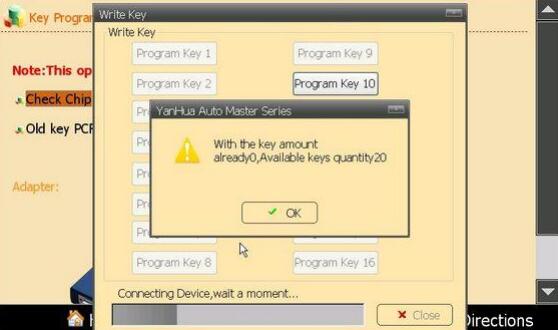
Step 6: During the programming process it will prompt you the
quantity of the used key and the key can be bond, click “OK”. When the
used key has reached to 20, the key storage area was full, you need to
go to the management center to update key list, please refer to 7.4
Reading Key List

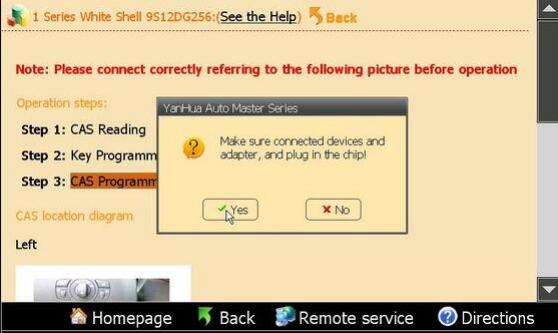
Step 7: Connect the 9S12 adapter to Digimaster III, click “Step 3: CAS programming” to write the data back to the CAS.

Enjoy!