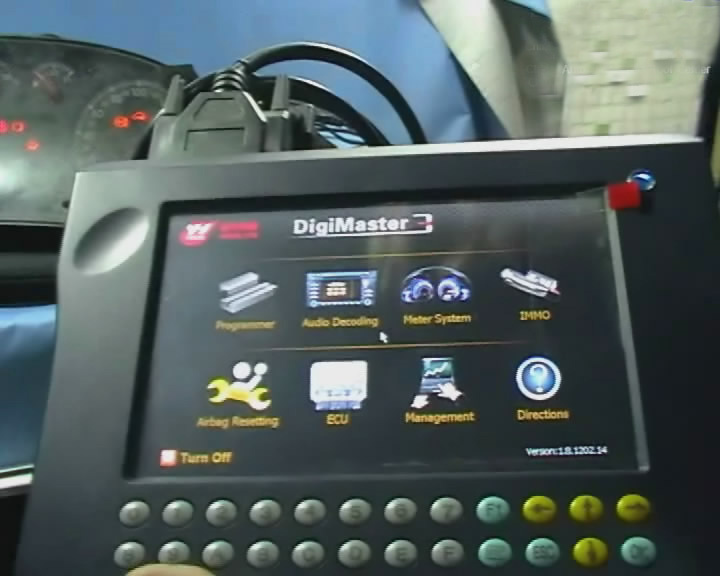
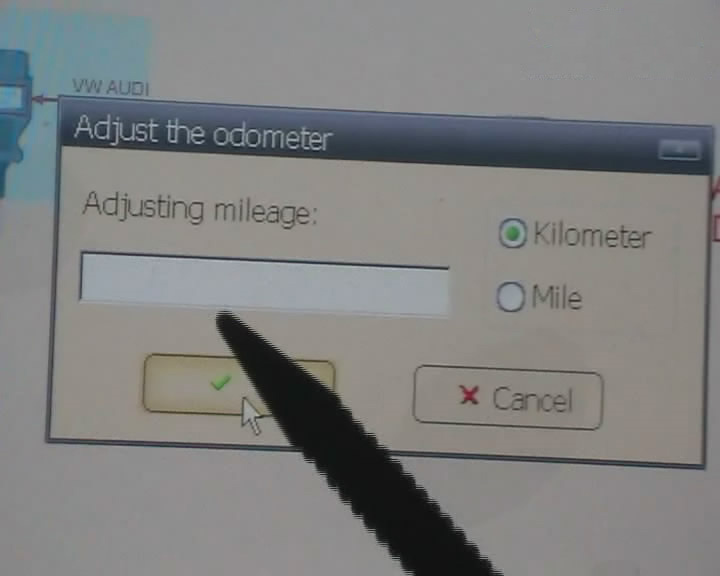
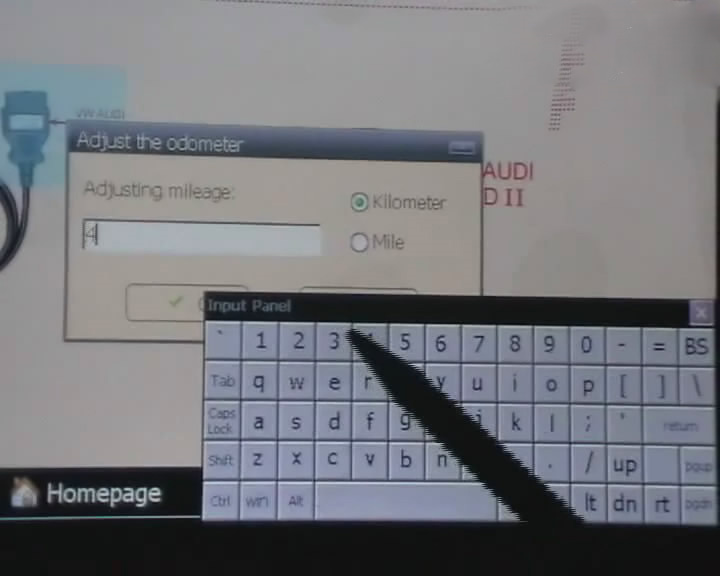
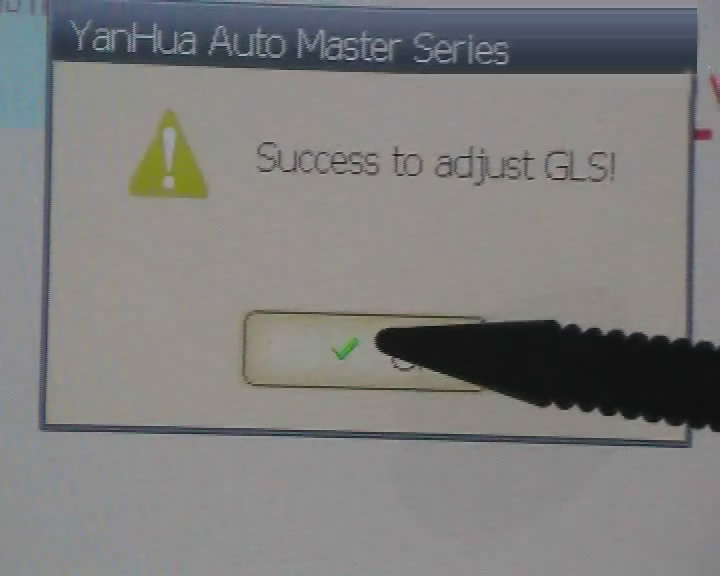
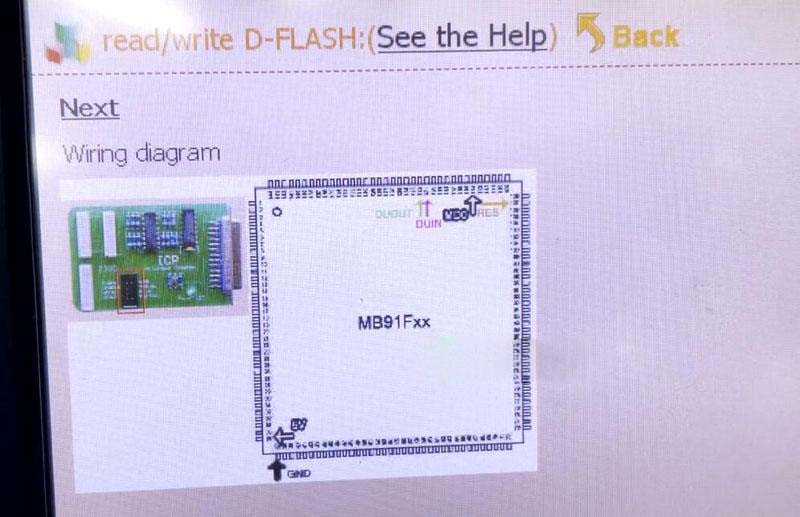
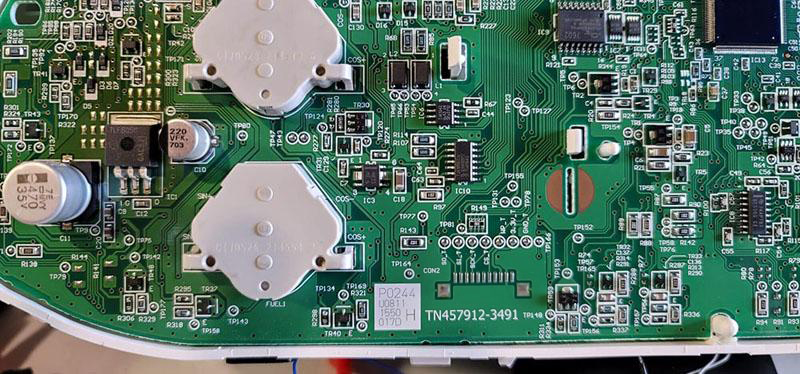
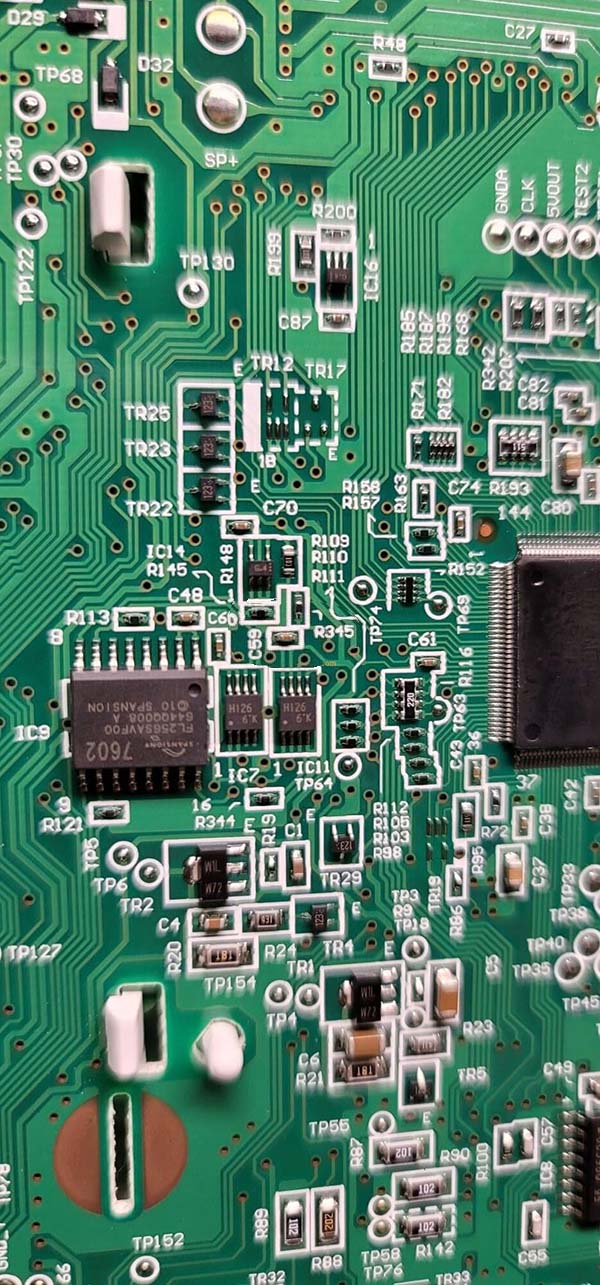
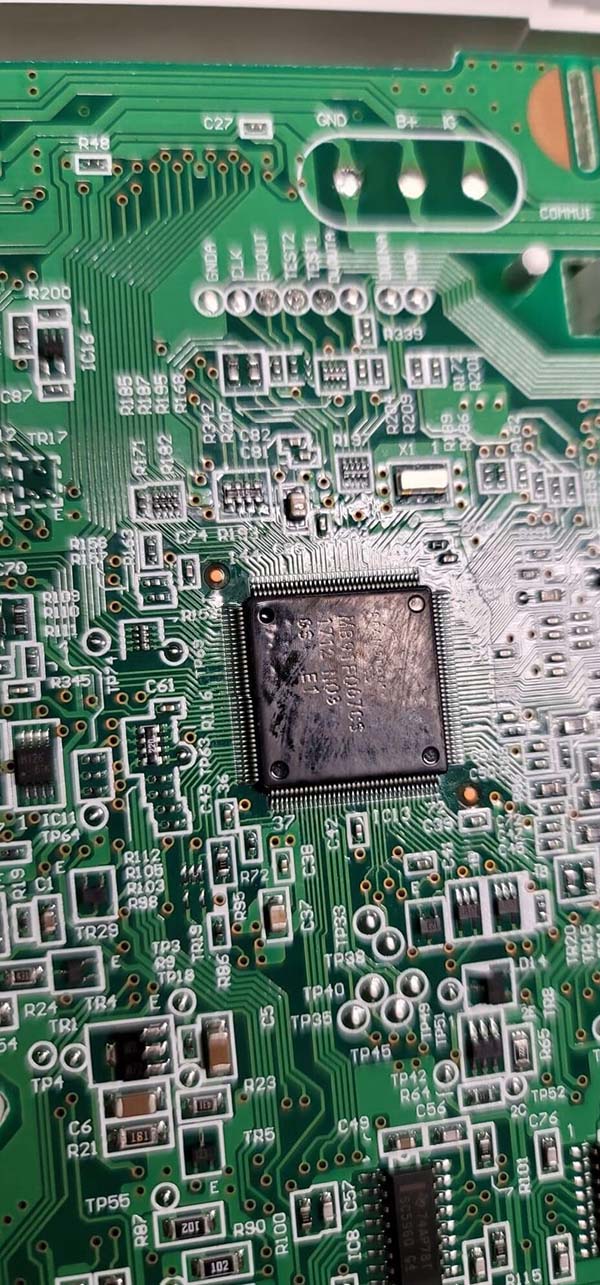
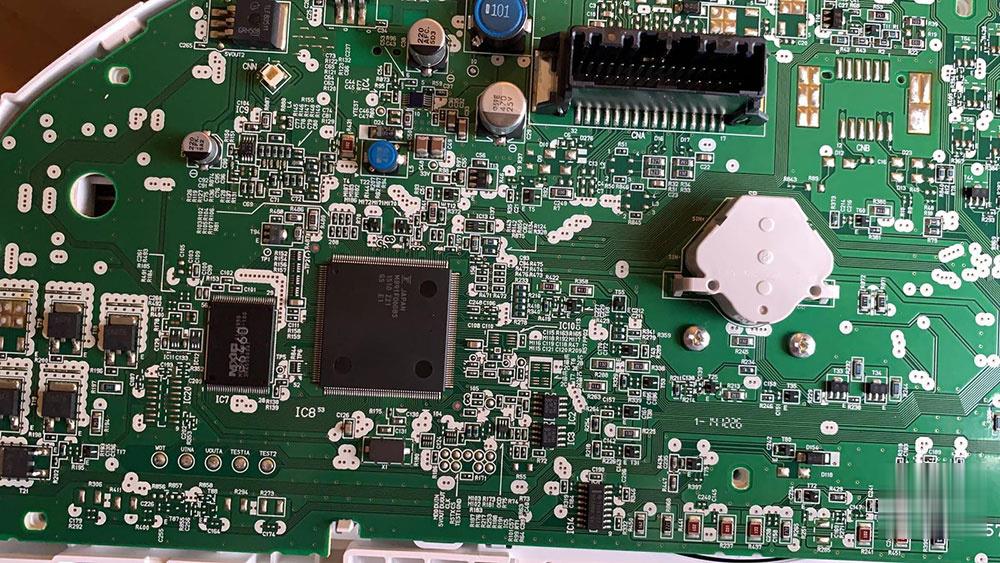
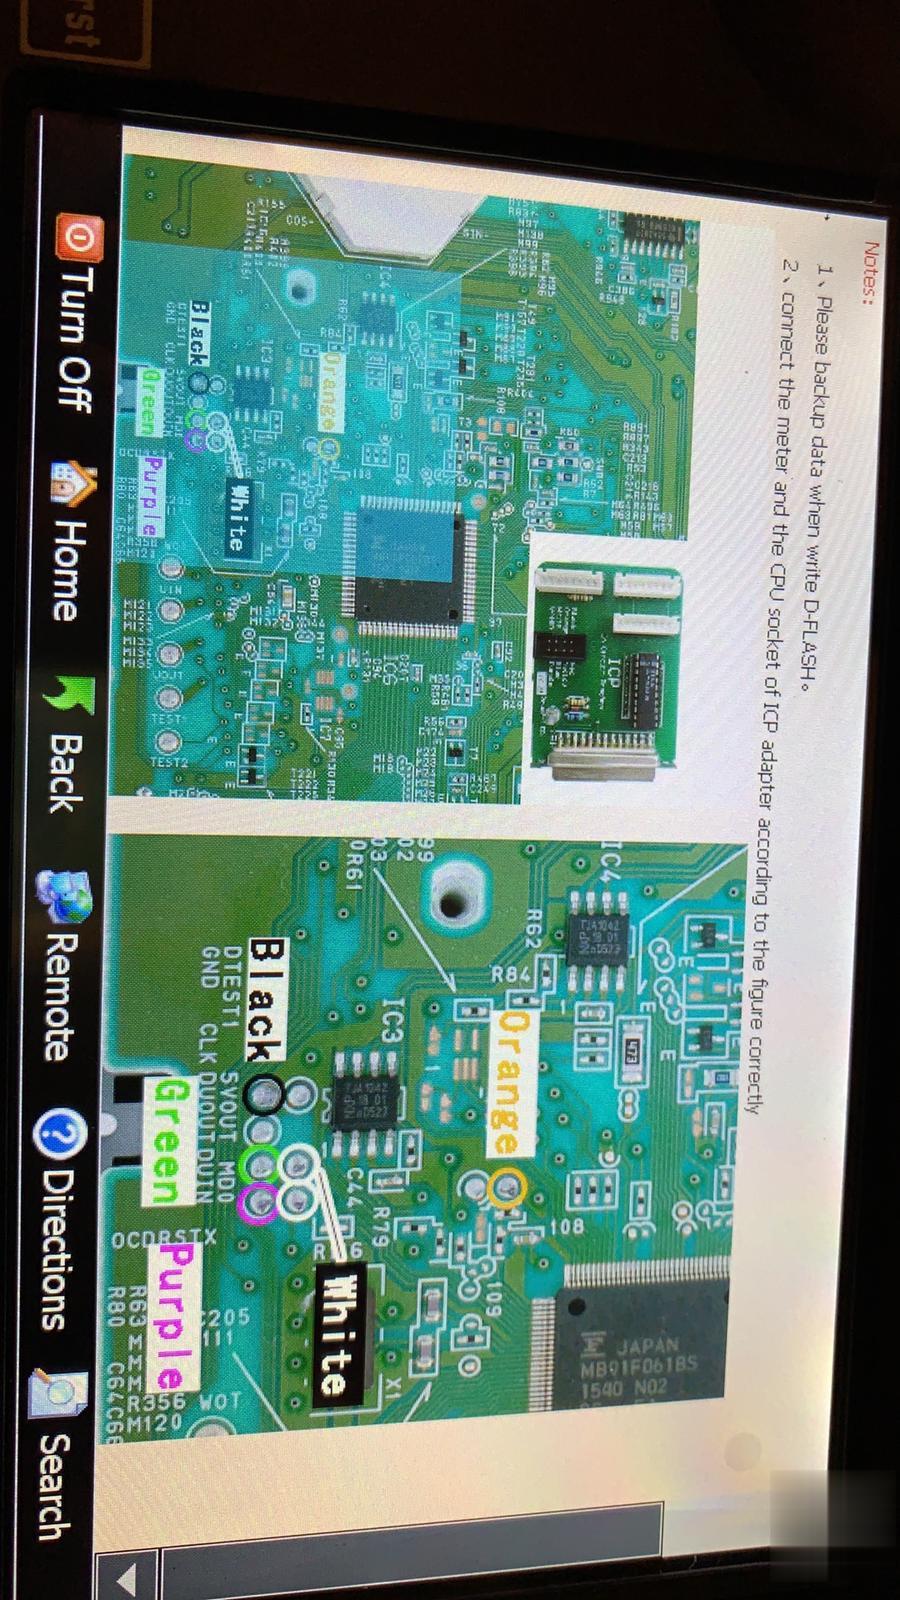
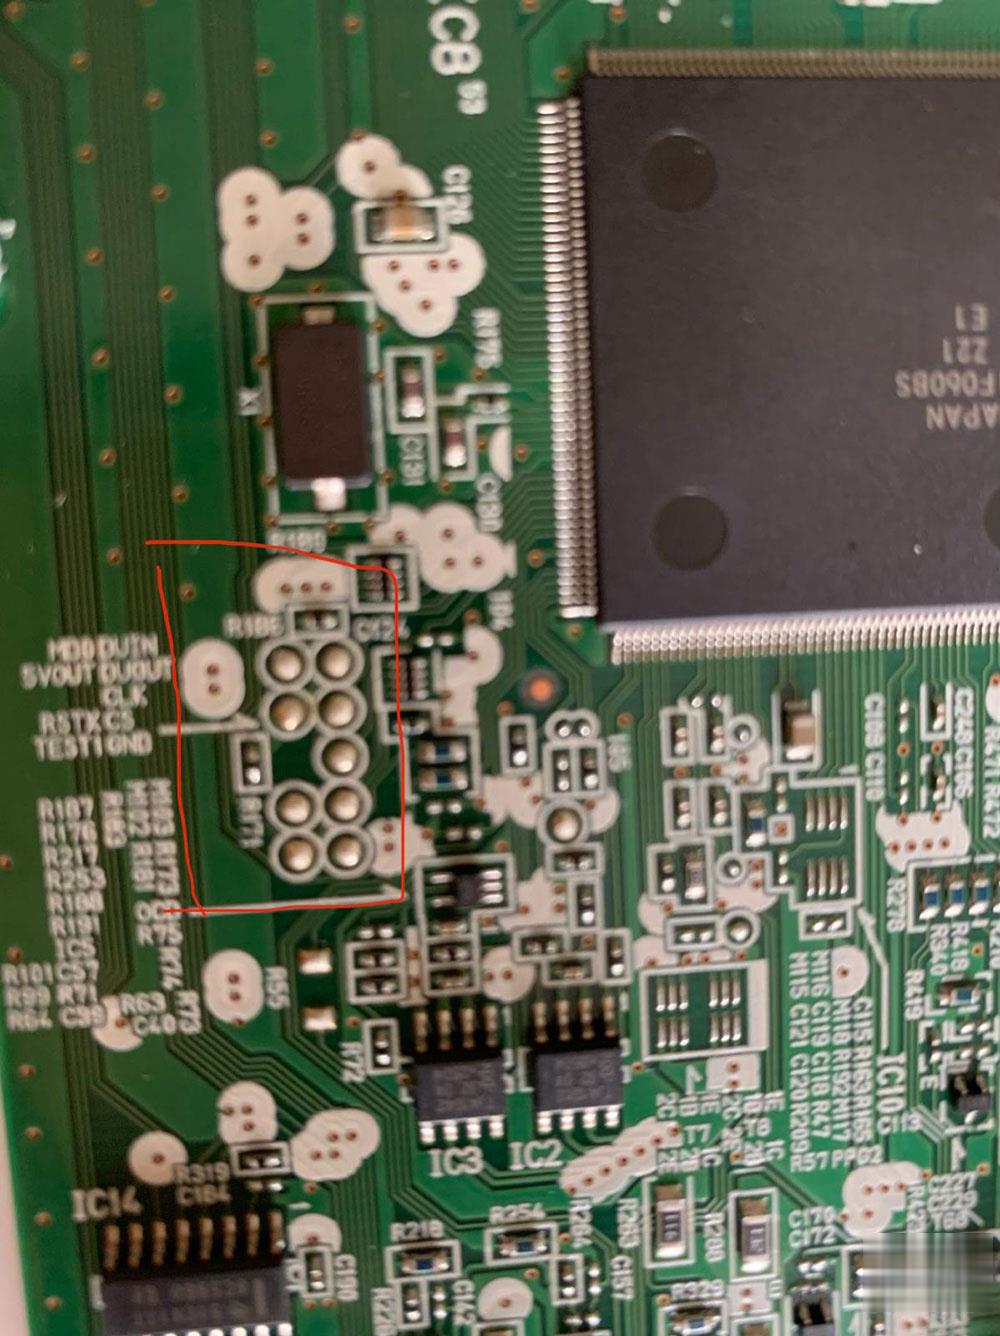
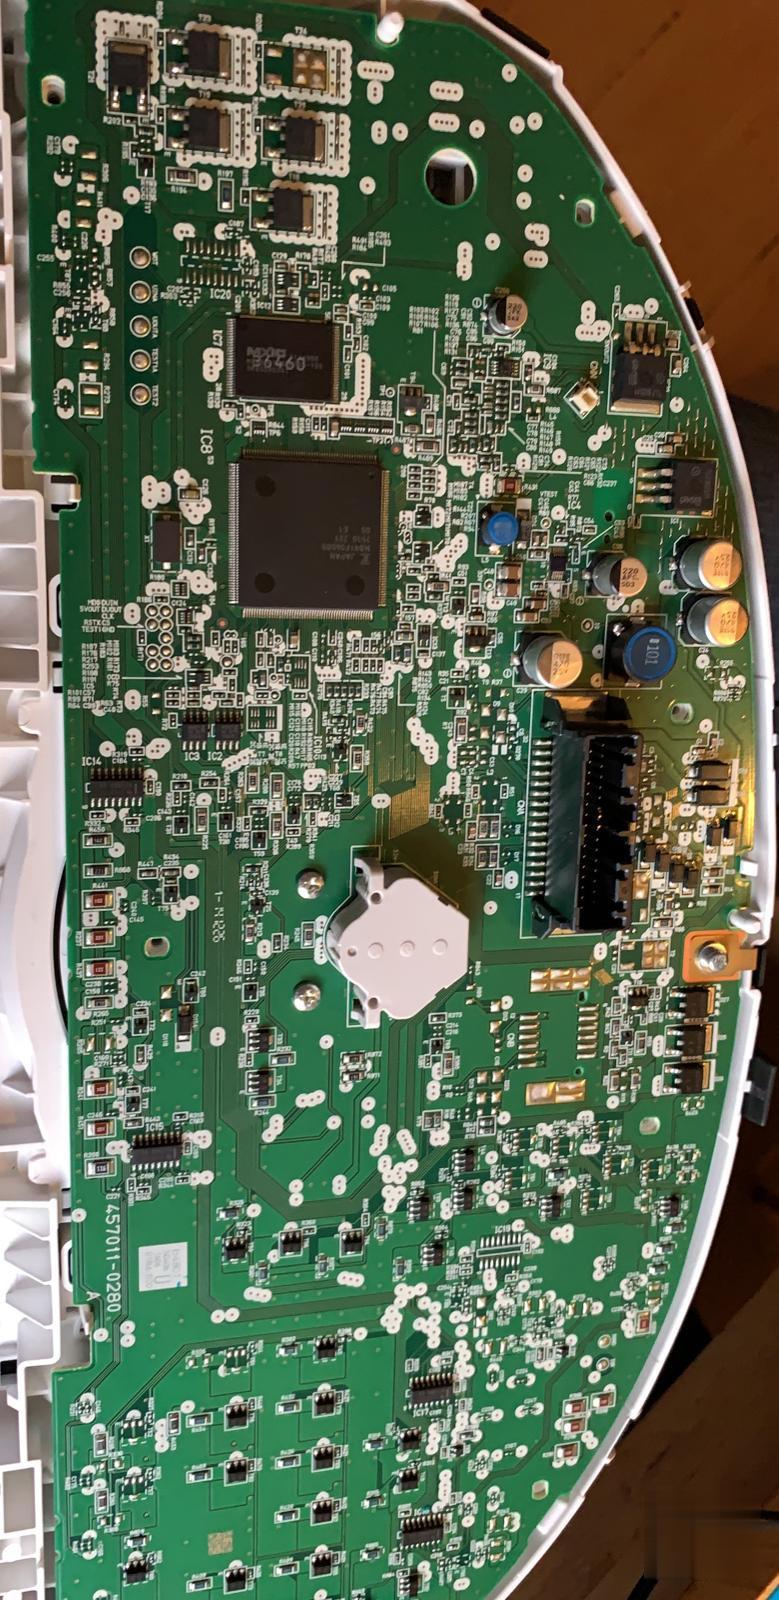
“This function is for testing by conner only, the formal issuance will be advised later.”In the process of using Digimaster3, correct odometer via OBD for Mercedes Benz W211 encountered such a prompt, what should I do?
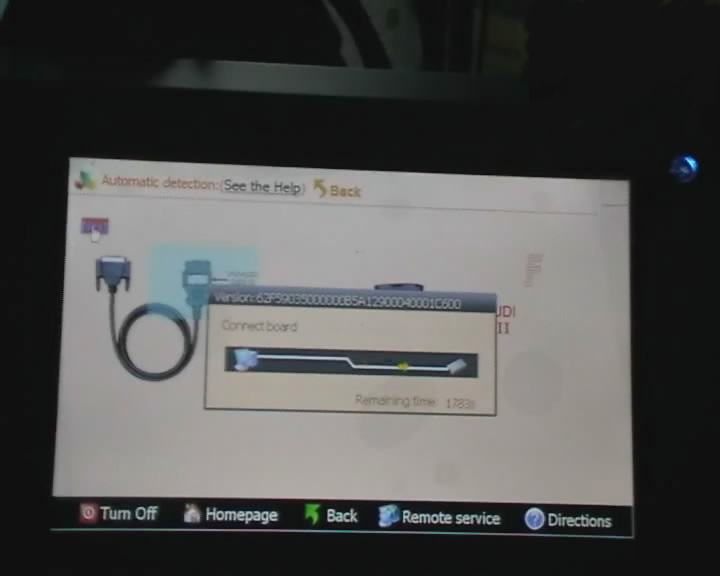
Check out how I work and then get the error message above: Connect Digimaster3 to car using CAN-OBD DM1NW Audi OBDII cable.
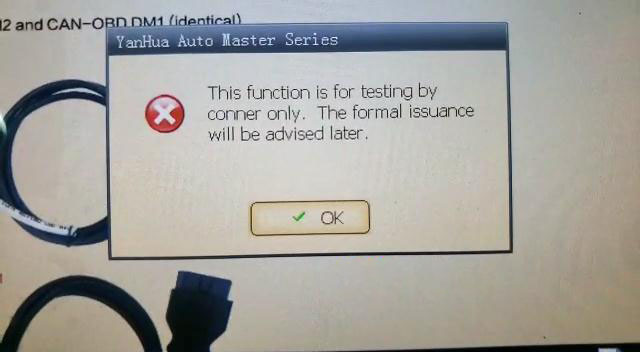
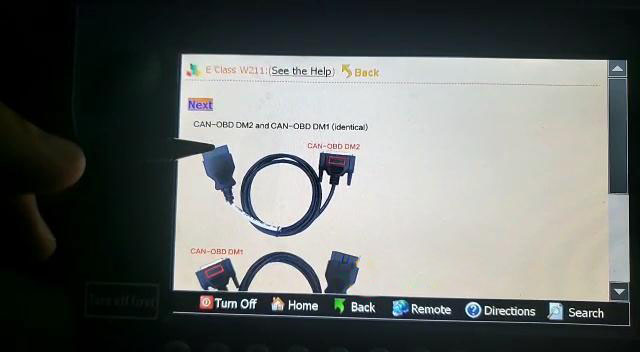
Look at how I operate and then get the above error message:
Connect Digimaster3 to the car using the CAN-OBD DM1NW Audi OBDII cable.
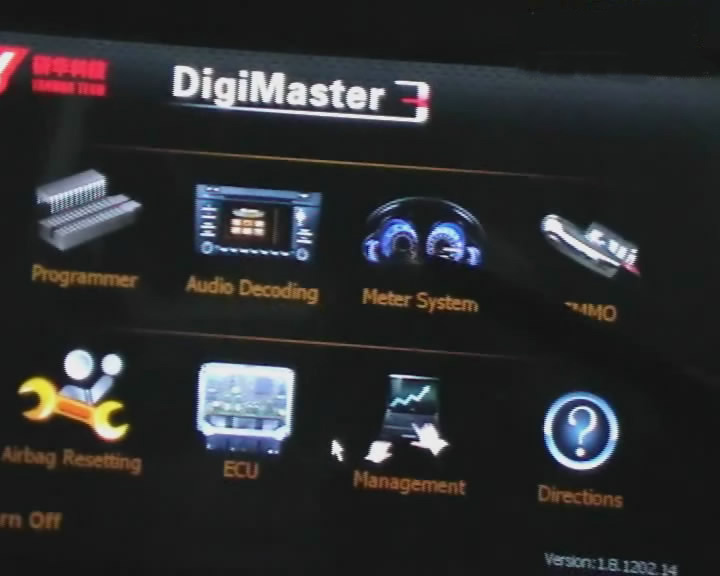
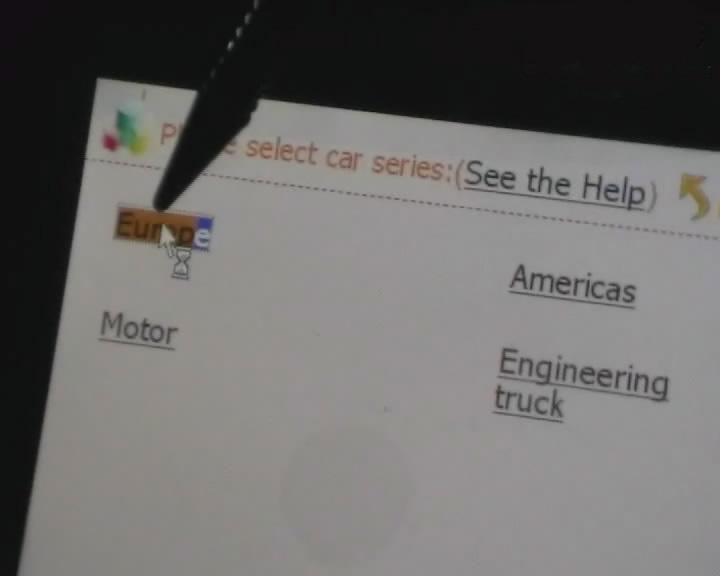
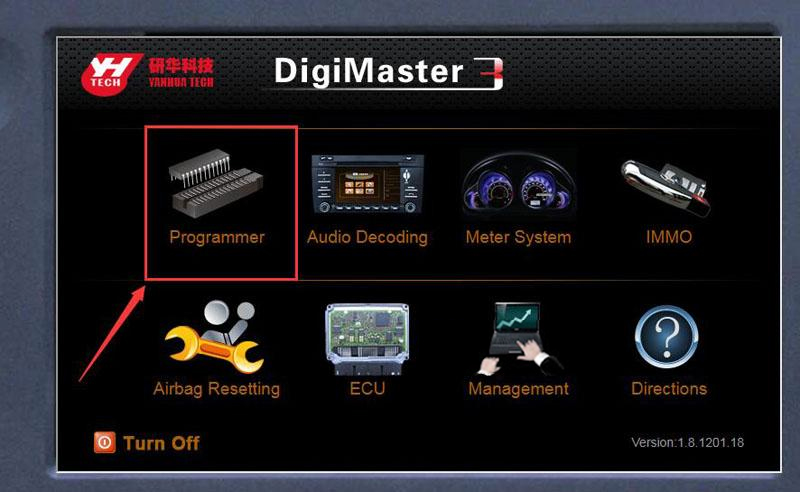
Tap “Meter System” -> Europe -> Benz -> Diagnostic socket adjustment -> E class -> W211 -> Next -> error ” “This function is for testing by conner only, the formal issuance will be advised later.”
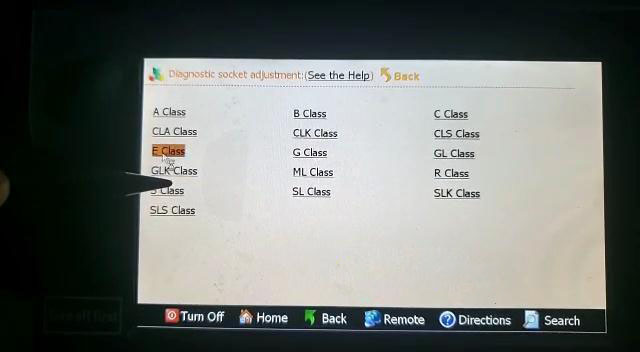
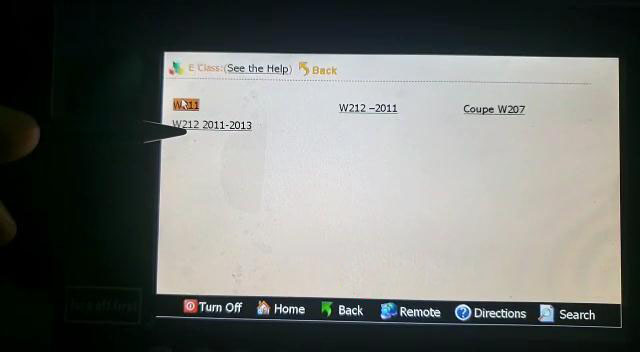
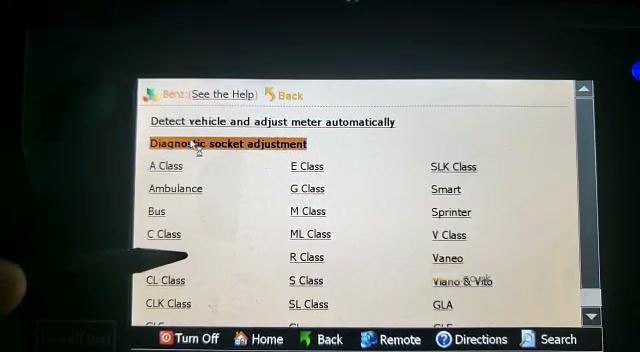
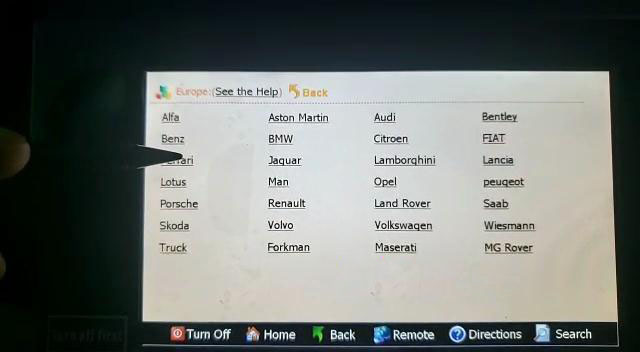
Yanhua engineer replied: You can’t use Yanhua Digimaster3 Odometer Correction Tool to correct odometer for W211 via OBD, please dismantle EIS and dashboard first.
Watch How Yanhua Digimaster3 Correct Odometer for Mercedes Benz?
Some can be done via OBD, some need to remove to read memory, some requires to solder contacts.
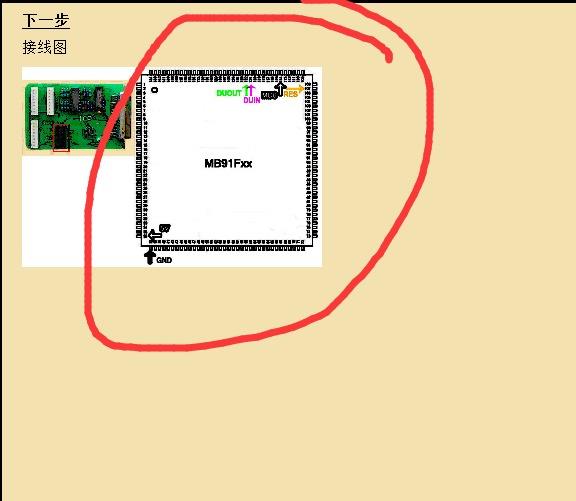
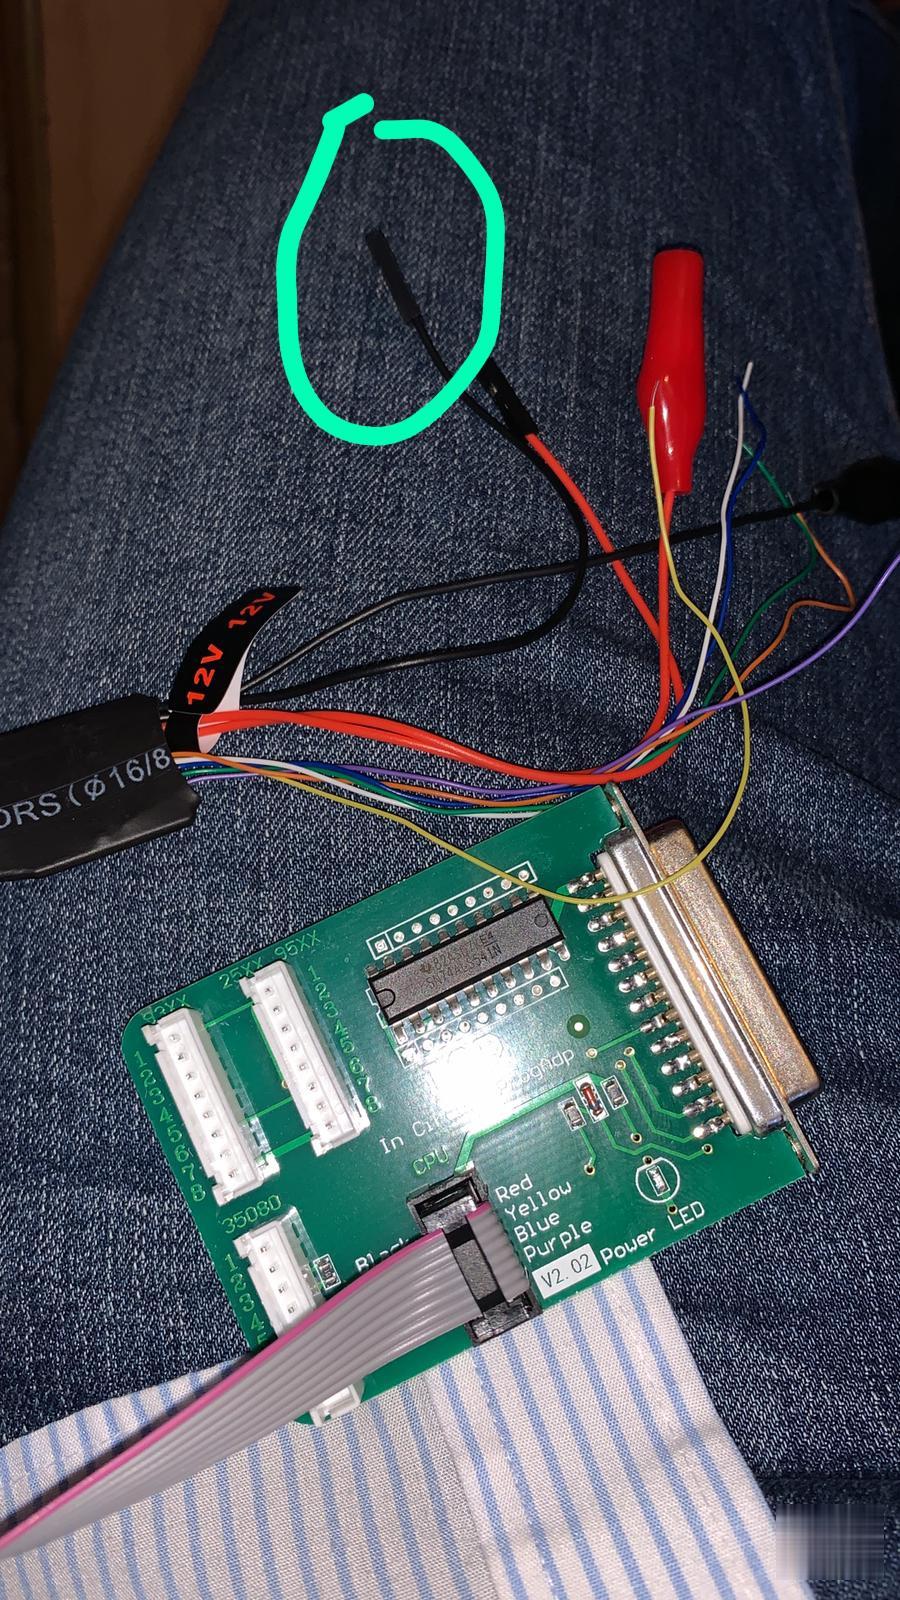
ICP, OBP, 9-PIN or 38-PIN adapter are required on specific models.
| Car Model | Method | Adapter | Storage Location |
| CLS Class W219 -2011 | Diagnostic | CAN-OBD DM1 | Cluster |
| E class W212 -2011 V1 | Diagnostic | CAN-OBD DM1 | Cluster |
| E class W212 -2011 V2 | Diagnostic | CAN-OBD DM1 | Cluster |
| GL Class X164 v1 | Diagnostic | CAN-OBD DM1 | Cluster |
| GL Class X164 v2 | Diagnostic | CAN-OBD DM1 | Cluster |
| ML Class W164 V1 | Diagnostic | CAN-OBD DM1 | Cluster |
| ML Class W164 V2 | Diagnostic | CAN-OBD DM1 | Cluster |
| R Class W251 V1 | Diagnostic | CAN-OBD DM1 | Cluster |
| R Class W251 V2 | Diagnostic | CAN-OBD DM1 | Cluster |
| E-Coupe W207 | Diagnostic | CAN-OBD DM1 | Cluster |
| CLS Class W218 2011- | Diagnostic | CAN-OBD DM1 | Cluster |
| SLS Class R197 | Diagnostic | CAN-OBD DM1 | Cluster |
| SLK Class R171 | Diagnostic | CAN-OBD DM1 | Cluster |
| SL Class R230 | Diagnostic | CAN-OBD DM1 | Cluster |
| CLK Class W209 | Diagnostic | CAN-OBD DM1 | Cluster |
| E Class W211 | Diagnostic | CAN-OBD DM1 | Cluster |
| S Class W211 W216 | Diagnostic | CAN-OBD DM1 | Cluster |
| A Class V1- A160 | Soldering Contacts | OBP | Cluster |
| A Class V2-2005 3L40K | Cluster: Memory Directly EIS: Memory Directly/ Soldering Contacts | OBP | Cluster |
| Ambulance 93C66 | Memory Directly | OBP | Cluster |
| Bus Actross 24C02 | Memory Directly | OBP | Cluster |
| Bus Actross 24C04 | Memory Directly | OBP | Cluster |
| Bus Mann 24C04 | Memory Directly | OBP | Cluster |
| C Class –1995.9 93CS56(14Pins) | Memory Directly | OBP | Cluster |
| C Class 1995.10-1996.6 C93C56(8Pins) | Memory Directly/ Diagnostic | OBP/ BENZ 38Pins | Cluster |
| C Class 1996.7-1999 93C66(8Pins) | Memory Directly/ Diagnostic | OBP/ BENZ 39Pins | Cluster |
| C Class 2000-2005 W203 -2001.7 | Soldering Contacts | ICP | EIS |
| C Class 2000-2005 W203 2001.8-2002.7 | Soldering Contacts | (W203/W220) | EIS |
| C Class 2000-2005 W203 2002-2004.7- MCU: hc08 | Soldering Contacts | (W203/W220) | EIS |
| C Class 2000-2005 W203 2002-2004.7- MCU: hc12 | Memory Directly/ Soldering Contacts | 9S12/W211/ (E65/E66)/ CAN&BDM | EIS |
| C Class 2000-2005 W203 2004-2005 (80pins CPU) | Memory Directly/ Soldering Contacts | 9S12/ CAN&BDM | EIS |
| C Class 2000-2005 W203 | Memory Directly/ Meter Socket | OBP/ (C/E CLASS) | Cluster |
| C Class 2006 W203 | Cluster: Memory Directly EIS: Memory Directly/ Soldering Contacts | Cluster: OBP EIS: 9S12/ CAN&BDM | Cluster+EIS |
| C Class 2006- W204 | Memory Directly | Cluster: OBP EIS: 9S12 | Cluster+EIS |
| CGW V1 | Soldering Contacts | ICP | Cluster |
| CGW V2 | Soldering Contacts | ICP | Cluster |
| CL Class 1995.9 93CS56(14Pins) | Memory Directly /Meter Socket | OBP/BENZ 95S | Cluster |
| CL Class 1995.10-1996.6 93C56(8Pins) | Memory Directly /Diagnostic | OBP/ BENZ 38Pins | Cluster |
| z CL Class 1996.7-1999 93C66(8Pins) | Memory Directly /Diagnostic | OBP/ BENZ 38Pins | Cluster |
| CL Class 2000 24C04 | Memory Directly | OBP | Cluster |
| CL Class 2001- W215 -2001.7 | Soldering Contacts | ICP | EIS |
| CL Class 2001- W215 2001.8-2002.7 | Soldering Contacts | (W203/W220) | EIS |
| CL Class 2001- W215 2002-2004 | Soldering Contacts | (W203/W220) | EIS |
| CL Class 2001- W215 2004-2005 (80pins CPU) | Memory Directly/ Soldering Contacts | 9S12/ CAN&BDM | EIS |
| CL Class 2001- W215 Meter adjustment | Memory Directly | OBP | Cluster |
| CLK Class–1998.4 93C56(8Pins) | Memory Directly/ Diagnostic | OBP/ BENZ 38Pins | Cluster |
| CLK Class–1998.4 93C66(8Pins) | Memory Directly/ Diagnostic | OBP/ BENZ 38Pins | Cluster |
| CLK Class 1999.7-2000 93C86 | Memory Directly/ Diagnostic | OBP/ BENZ 38Pins | Cluster |
| CLK Class 2001- W209 2002 EIS MC908 V1 | Soldering Contacts | ICP | EIS |
| CLK Class 2001- W209 2002 EIS MC908 V2 | Soldering Contacts | ICP | EIS |
| CLK Class 2001- W209 2002 EIS MC908 V3 | Soldering Contacts | ICP | EIS |
| CLK Class 2001- W209 2002-2004 EIS(MC912) | Memory Directly/ Soldering Contacts | 9S12/W211/ (E65/E66)/ CAN&BDM | EIS |
| CLK Class 2001- W209 2004-2005 EIS(MC9S12) | Memory Directly/ Soldering Contacts | 9S12/ CAN&BDM | EIS |
| CLK Class 2001- W209 Meter adjustment | Memory Directly | OBP | Cluster |
| CLK Class 2006 W219 2002 EIS MC908 V1 | Soldering Contacts | ICP | EIS |
| CLK Class 2006 W219 2002 EIS MC908 V2 | Soldering Contacts | ICP | EIS |
| CLK Class 2006 W219 2002 EIS MC908 V3 | Soldering Contacts | ICP | EIS |
| CLK Class 2006 W219 2002-2004 EIS(MC912) | Memory Directly/ Soldering Contacts | 9S12/W211/ (E65/E66)/ CAN&BDM | EIS |
| CLK Class 2006 W219 2004-2005 EIS(MC9S12 | Memory Directly/ Soldering Contacts | 9S12/ CAN&BDM | EIS |
| CLK Class 2006 W219 Meter adjustment | Memory Directly | OBP | Cluster |
| E Class -1998.4 93C56(8Pins) | Memory Directly/ Diagnostic | OBP/ BENZ 38Pins | Cluster |
| E Class -1998.4 93C66(8Pins) | Memory Directly/ Diagnostic | OBP/ BENZ 38Pins | Cluster |
| E Class 1999.7-2000 93C86 | Memory Directly/ Diagnostic | OBP/ BENZ 38Pins | Cluster |
| E Class 2001- W211 2002-2004 EIS (112pins CPU) | Memory Directly/ Soldering Contacts | 9S12/W211/ (E65/E66)/ CAN&BDM | EIS |
| E Class 2001- W211 2004-2005 EIS (80pins CPU) | Memory Directly/ Soldering Contacts | 9S12/ CAN&BDM | EIS |
| E Class 2001- W211 24C16 | Memory Directly | OBP | Cluster |
| E Class 2001- W211 24C32 | Memory Directly | OBP | Cluster |
| E Class 2001- W211 Meter socket | Meter Socket | C/E CLASS | Cluster |
| E Class 2009- W212 | Memory Directly | OBP | Cluster |
| G Class -1998.4 93C66(8Pins) | Memory Directly/ Diagnostic | OBP/ BENZ 38Pins | Cluster |
| G Class 1998.5-1999 93C86 | Memory Directly/ Diagnostic | OBP/ BENZ 38Pins | Cluster |
| G Class 2000- MCU(new) 2002 EIS MC908 V1 | Soldering Contacts | ICP | EIS |
| G Class 2000- MCU(new) 2002 EIS MC908 V2 | Soldering Contacts | ICP | EIS |
| G Class 2000- MCU(new) 2002 EIS MC908 V3 | Soldering Contacts | ICP | EIS |
| G Class 2000- MCU(new) 2002-2004 EIS(MC912) | Memory Directly/ Soldering Contacts | 9S12/W211/ (E65/E66)/ CAN&BDM | EIS |
| G Class 2000- MCU(new) 2004-2005 EIS(MC9S12) | Memory Directly/ Soldering Contacts | 9S12/ CAN&BDM | EIS |
| G Class 2000- MCU(new) Meter adjustment | Memory Directly | OBP | Cluster |
| M Class 2006 W164 | Memory Directly | OBP | Cluster |
| ML Class 2000 93C66 | Memory Directly/ Soldering Contacts | OBP/BENZ-OBD | Cluster |
| ML Class 2005 ML350 | Cluster: Memory Directly EIS: Memory Directly/ Soldering Contacts | Cluster: OBP EIS: 9S12/ CAN&BDM | Cluster+EIS |
| R Class 2006 R350 | Cluster: Memory Directly EIS: Memory Directly/ Soldering Contacts | Cluster: OBP EIS: 9S12/ CAN&BDM | Cluster+EIS |
| S Class -1995.9 93CS56(14Pins) | Memory Directly / Meter Socket | OBP/BENZ 95S | Cluster |
| S Class 1995.10-1996.6 93C56(8Pins) | Memory Directly/ Diagnostic | OBP/ BENZ 38Pins | Cluster |
| S Class 1996.7-1998 93C66(8Pins) | Memory Directly/ Diagnostic | OBP/ BENZ 38Pins | Cluster |
| S Class 1999 B58 | Memory Directly | OBP | Cluster |
| S Class 2000 24C04 | Memory Directly | OBP | Cluster |
| S Class 2001- W220 -2001.7 | Soldering Contacts | ICP | EIS |
| S Class 2001- W220 2001.8-2002.7 | Soldering Contacts | (W203/W220) | EIS |
| S Class 2001- W220 2002-2004 | Soldering Contacts | (W203/W220) | EIS |
| S Class 2001- W220 2004-2005 (80pins CPU | Memory Directly/ Soldering Contacts | 9S12/ CAN&BDM | EIS |
| S Class 2001- W220 Meter adjustment | Memory Directly | OBP | Cluster |
| S Class 2006 W221 | Memory Directly | OBP | Cluster |
| SL Class 1995.9 93CS56(14Pins) | Memory Directly/ Meter Socket | OBP/BENZ 95S | Cluster |
| SL Class 1995.10-1996.6 93C56(8Pins) | Memory Directly/ Diagnostic | OBP/ BENZ 38Pins | Cluster |
| SL Class 1996.7-1998 93C66(8Pins) | Memory Directly/ Diagnostic | OBP/ BENZ 38Pins | Cluster |
| SL Class 2000- R230 -2001.7 | Soldering Contacts | ICP | EIS |
| SL Class 2000- R230 2001.8-2002.7 | Soldering Contacts | (W203/W220) | EIS |
| SL Class 2000- R230 2002-2004 | Soldering Contacts | (W203/W220) | EIS |
| SL Class 2000- R230 2005 | Memory Directly/ Soldering Contacts | 9S12/ CAN&BDM | EIS |
| SL Class 2000- R230 Meter adjustment | Memory Directly | OBP | Cluster |
| SLK Class -1998.4 R170 | Memory Directly/ Diagnostic | OBP/ BENZ 38Pins | Cluster |
| SL Class 1998.5-1999 R170 | Memory Directly/ Diagnostic | OBP/BENZ-OBD | Cluster |
| SLK Class 2000- R171 2004-2005 EIS (80pins CPU) | Memory Directly/ Soldering Contacts | EIS: 9S12/ CAN&BDM | EIS |
| SLK Class 2000- R171 Meter Adjustment | Memory Directly | OBP | Cluster |
| Smart -2004 | Cluster: Memory Directly BCU: Soldering Contacts | Cluster: OBP BCU: ICP | Cluster+BCU |
| Smart 2004- | Cluster: Memory Directly BCU: Soldering Contacts | Cluster: OBP BCU: ICP | Cluster+BCU |
| Sprinter 2000 Fahrt | Memory Directly | OBP | Cluster |
| Sprinter 2000 Tacho | Memory Directly | OBP | Cluster |
| Sprinter 24C02 | Memory Directly | OBP | Cluster |
| Sprinter 93C46 V1 | Memory Directly | OBP | Cluster |
| Sprinter 93C46 V2 | Memory Directly | OBP | Cluster |
| Sprinter 93C46 V3 | Memory Directly | OBP | Cluster |
| Sprinter Magneti-Marelli V1 | Soldering Contacts | ICP | Cluster |
| Sprinter Magneti-Marelli V2 | Soldering Contacts | ICP | Cluster |
| V Class 2005 V2 | Memory Directly EIS: Soldering Contacts | Cluster: OBP EIS: ICP | Cluster+EIS |
| V Class Magneti-Marelli V1 | Soldering Contacts | ICP | Cluster |
| V Class Magneti-Marelli V2 | Soldering Contacts | ICP | Cluster |
| Vaneo | Soldering Contacts | ICP | Cluster |
| Viano vito | Cluster: Memory Directly EIS: Soldering Contacts | Cluster: OBP EIS: ICP | Cluster+EIS |