Tuesday, August 10, 2021

Digimaster 3 Nissan pathfinder mileage adjustment


Yanhua Digimaster 3 is able to  adjust Nissan pathfinder mileage, here is the operate guide for you

Look at the images of Nissan pathfinder option:

Select “Meter system” then “Japan & Korea”.

Digimaster-3-Nissan-pathfinder-mileage-adjustment-1 (2)

Select “Nissan”.

Digimaster-3-Nissan-pathfinder-mileage-adjustment-2 (2)

Select “Pathfinder”.

Digimaster-3-Nissan-pathfinder-mileage-adjustment-3 (2)

Have option: 2000, 2005-2008, 93C56, 2004, 93C46 etc.

Please firstly find out your dashboard chip type and the enter the above selection relatively.

Digimaster-3-Nissan-pathfinder-mileage-adjustment-4 (2)

For how to do next, Digimaster 3 machine will display the instruction.

Enjoy!

Monday, August 9, 2021

How to Correct Odometer for Peugeot 508 by Digimaster 3


A few days ago,one of my blog readers sent email to me to ask for more post on automotive odometer correction. Here i share this article about how to correct odometer for Peugeot 505.

Odometer Correction Tool:

Digimaster 3 or other device.

Procedures:

Step 1:Remove the instrument cluster and BSI.

How-to-Check-Porsche-Engine-Oil-Level-by-Porsche-Tester-or-Launch-X431-1

Step 2:Free the PCB from BSI,then remove the chip “95256” from BSI PCB.

Weld the 95256 chip on adapter,use Digimaster 3 to correct the odometer value you want.

How-to-Check-Porsche-Engine-Oil-Level-by-Porsche-Tester-or-Launch-X431-2

Step 3:Disassemble the instrument cluster and remove the chip “95080” from PCB.

Weld the 95080 chip on adapter,use Digimaster 3 to correct the odometer value you want.

Finally,install them back on Peugeot 508.

Sunday, August 8, 2021

How to adjust odometer Toyota Camry by Digimaster 3


Here comes the step by stey guide on how to modify mileage of odometer of Toyota Camry by Digimaster 3. Hope this article is helpful.

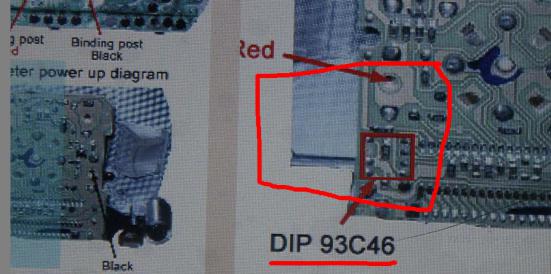
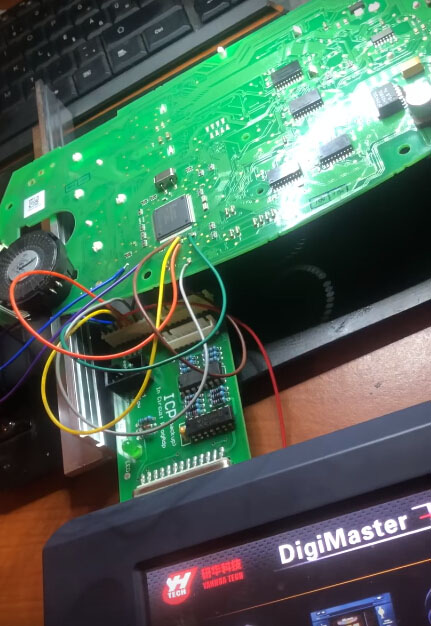
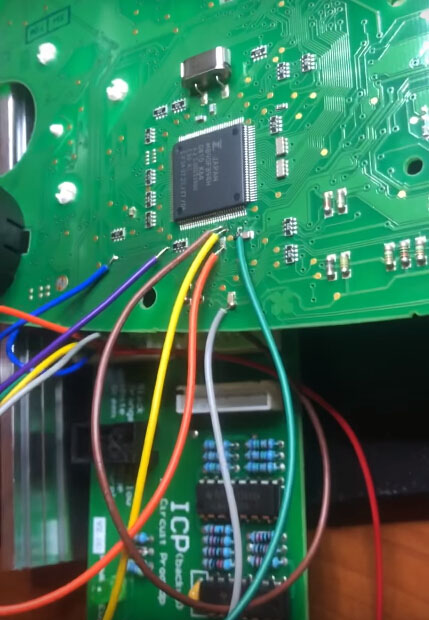
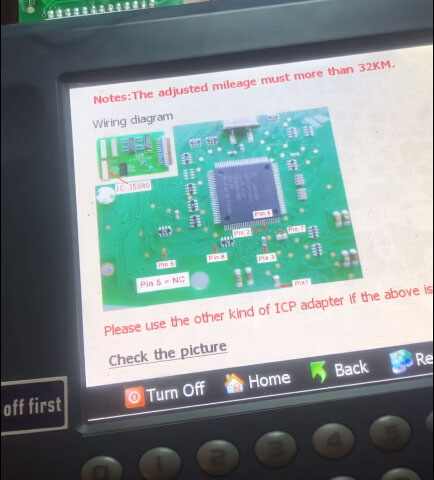
Step 1:Remove the instrument of Toyota Camry to find out the PCB board shows as below picture.The picture give the location of chip C46,remove chip C46 form PCB board.

How-to-adjust-odometer-Toyota-Camry-by-Digimaster3-1 How-to-adjust-odometer-Toyota-Camry-by-Digimaster3-2

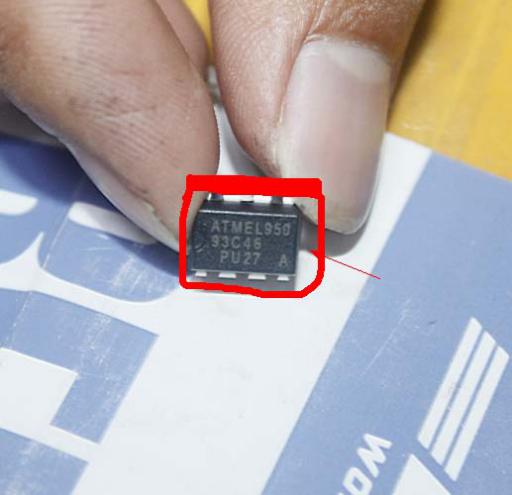
The chip C46 appear as below picture.

How-to-adjust-odometer-Toyota-Camry-by-Digimaster3-3

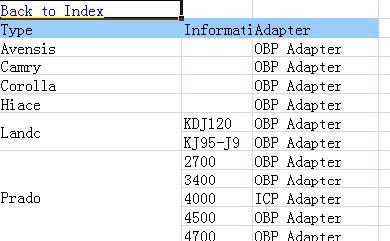
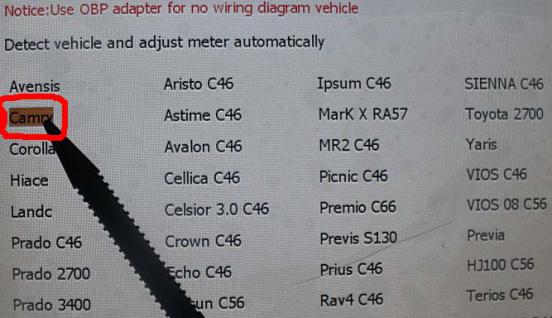
Step 2:Open “Digimaster 3 vehicle list ” file,then search Camry,you will get information that you need OBP adapter.Find out the OBP adapter in the tool box,then weld C46 chip on the OBP adapter and connect OBP adapter to Digimaster 3.

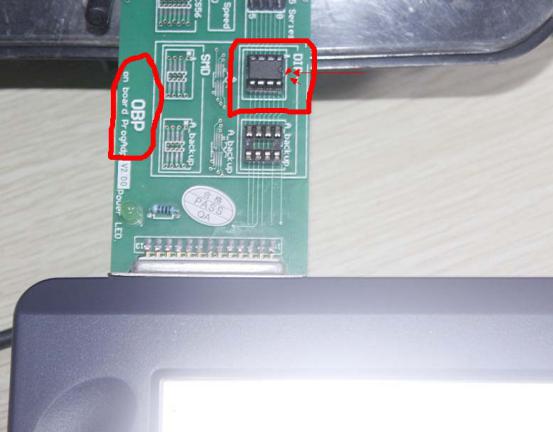
Note:Weld the chip in the right location as bellow,you need to pay attention to the direction of C46 on the OBP adapter.

How-to-adjust-odometer-Toyota-Camry-by-Digimaster3-4

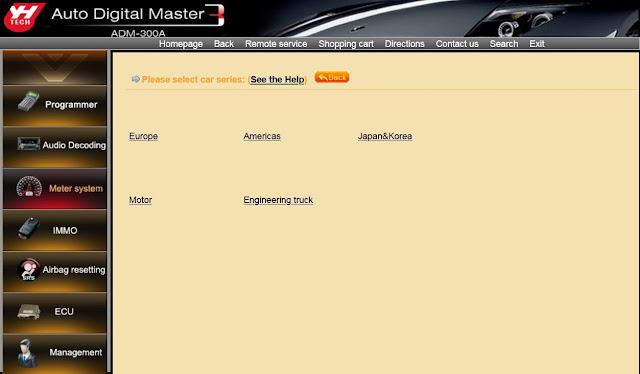
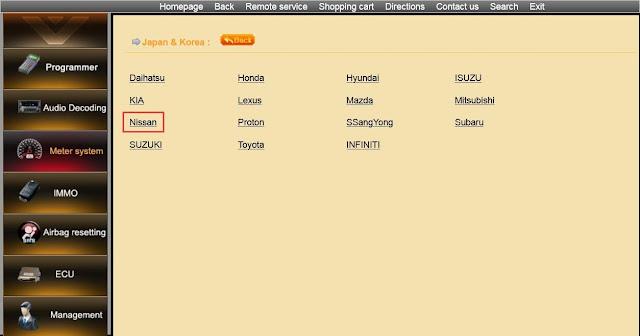
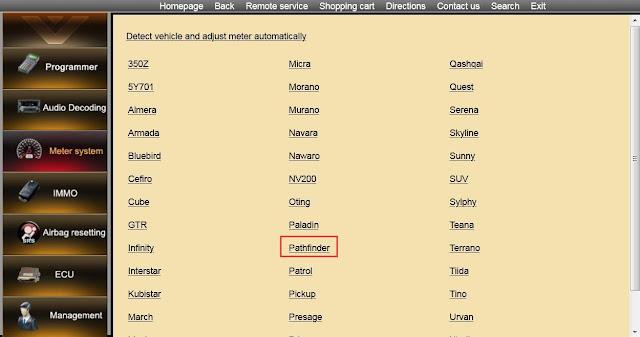
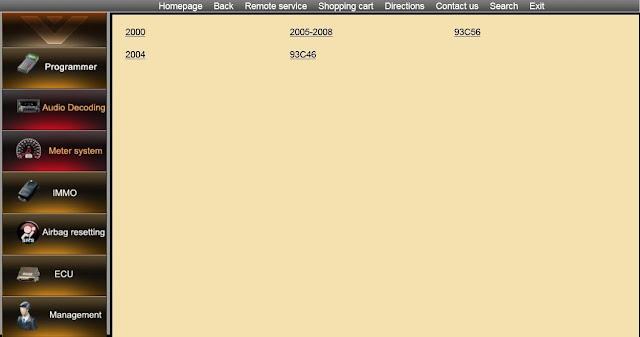
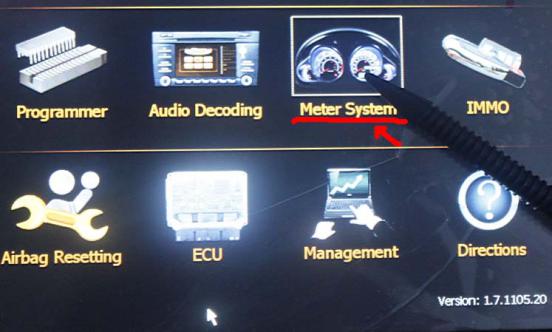
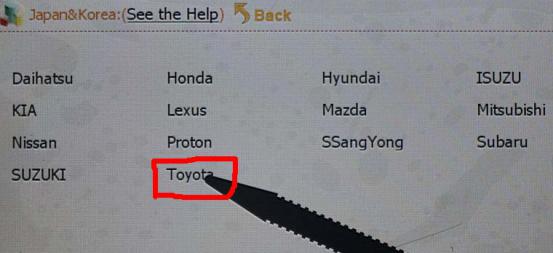
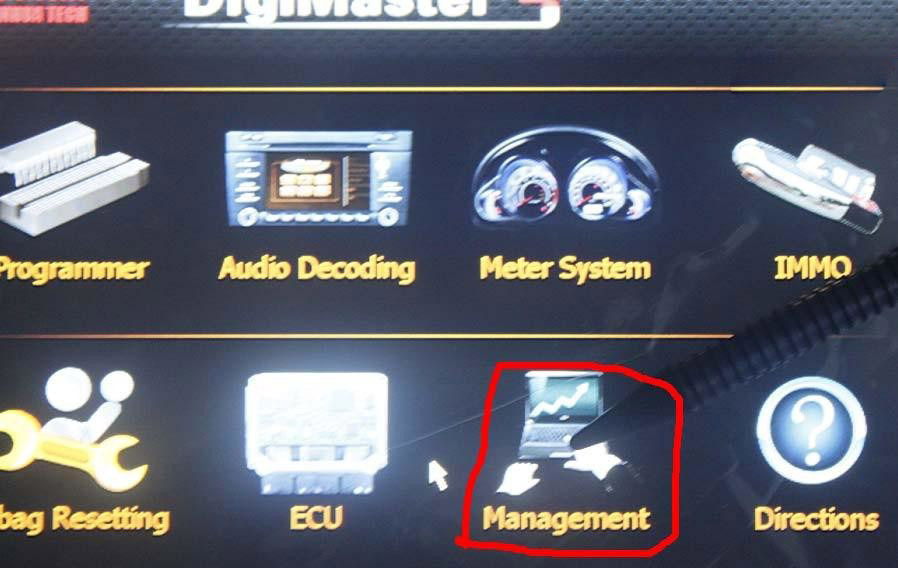
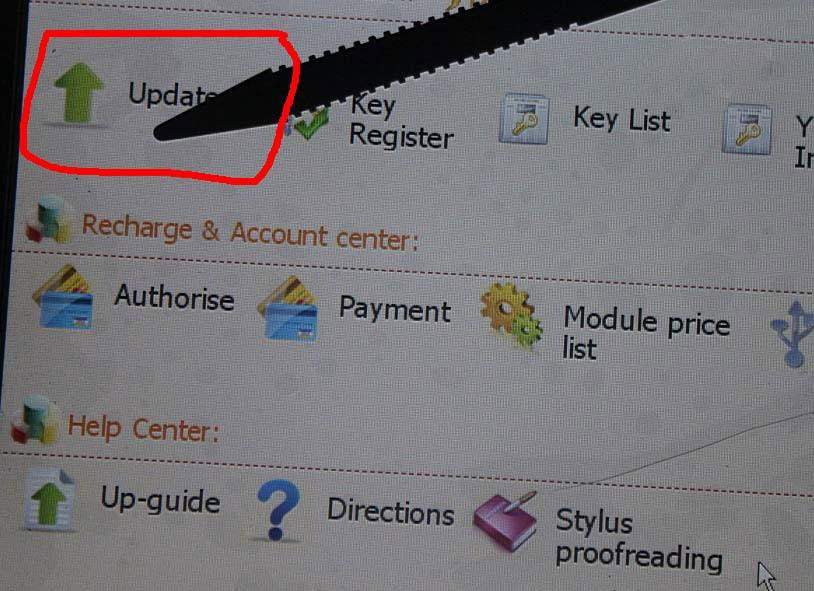
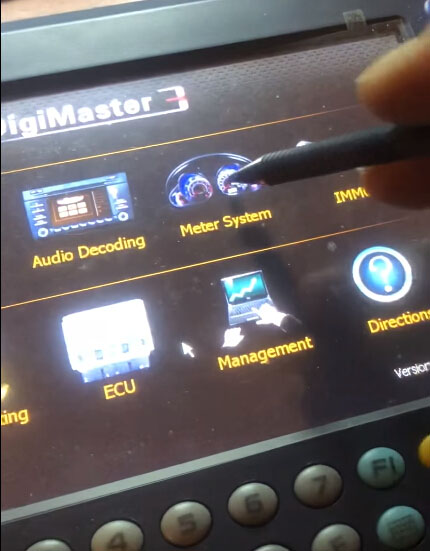
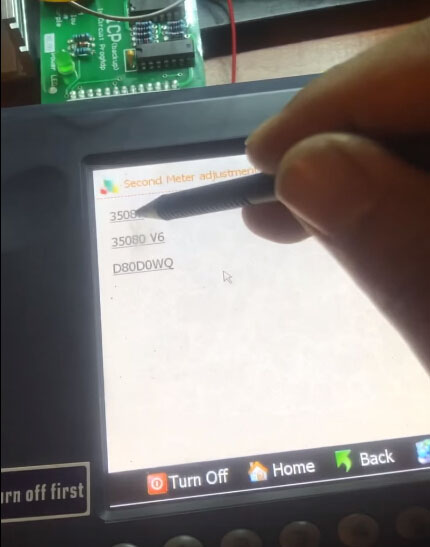
Step 3:Open Digimaster 3,select “Meter System” –>Select “Japan & Korea–>Select “Toyota–>Select “Camry”–> Select “C46”

How-to-adjust-odometer-Toyota-Camry-by-Digimaster3-5

How-to-adjust-odometer-Toyota-Camry-by-Digimaster3-6

How-to-adjust-odometer-Toyota-Camry-by-Digimaster3-7

How-to-adjust-odometer-Toyota-Camry-by-Digimaster3-8

How-to-adjust-odometer-Toyota-Camry-by-Digimaster3-9

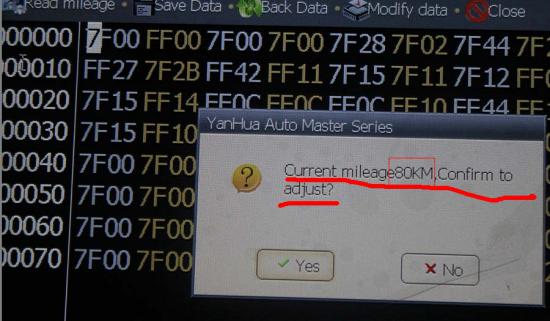
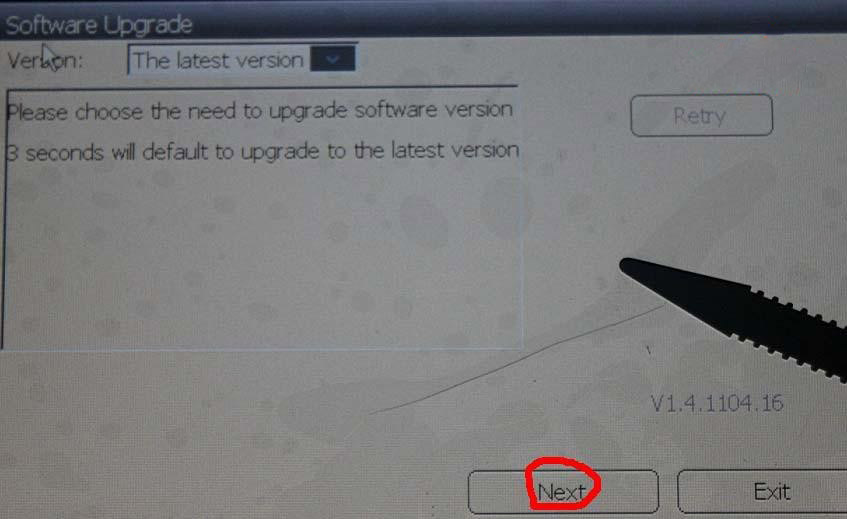
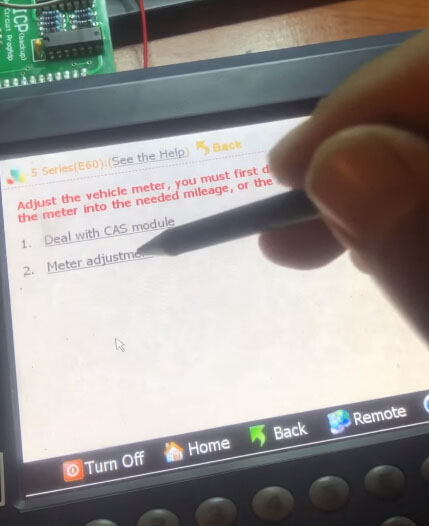
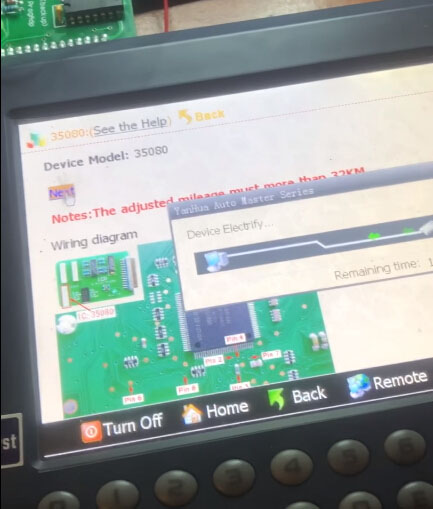
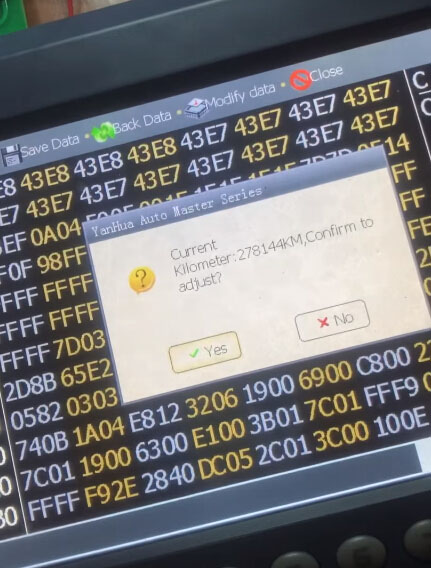
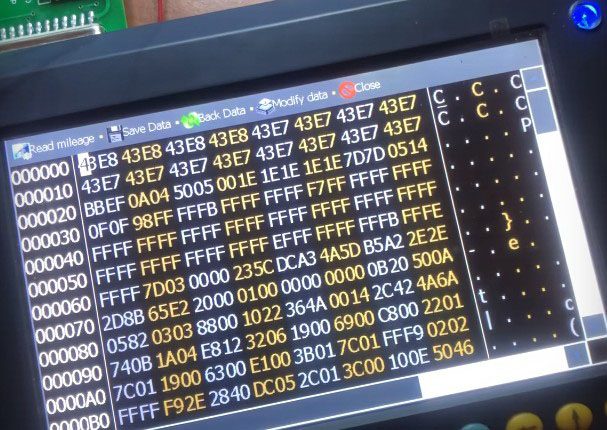
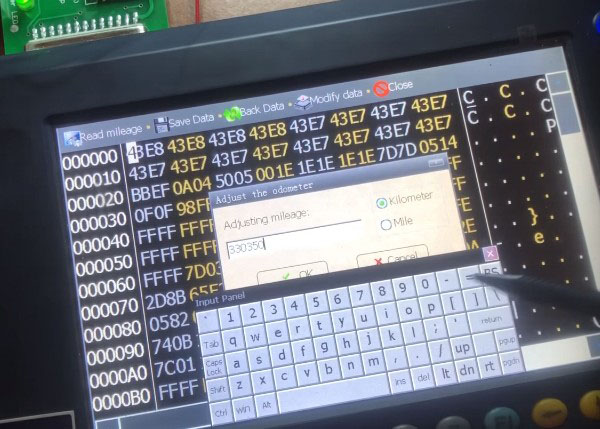
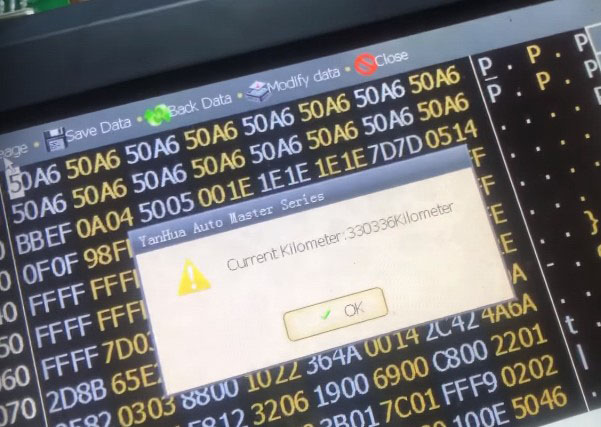
Step 4:In the Digimaster 3, click Next, read out Chip mileage value 
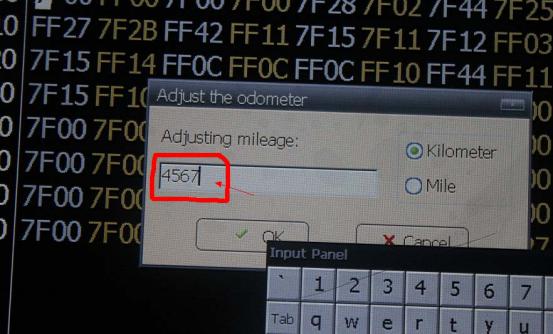
80KM, select “Yes” to adjust the mileage value you want.Here we enter 4567, and then click “OK”.

How-to-adjust-odometer-Toyota-Camry-by-Digimaster3-10

How-to-adjust-odometer-Toyota-Camry-by-Digimaster3-11

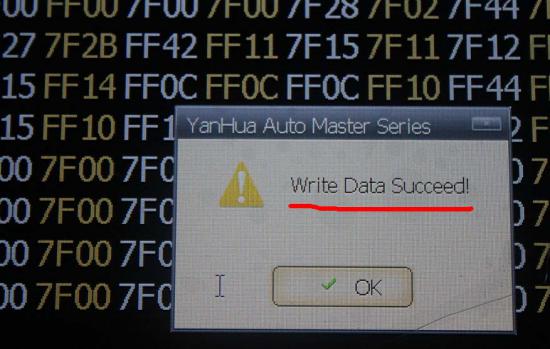
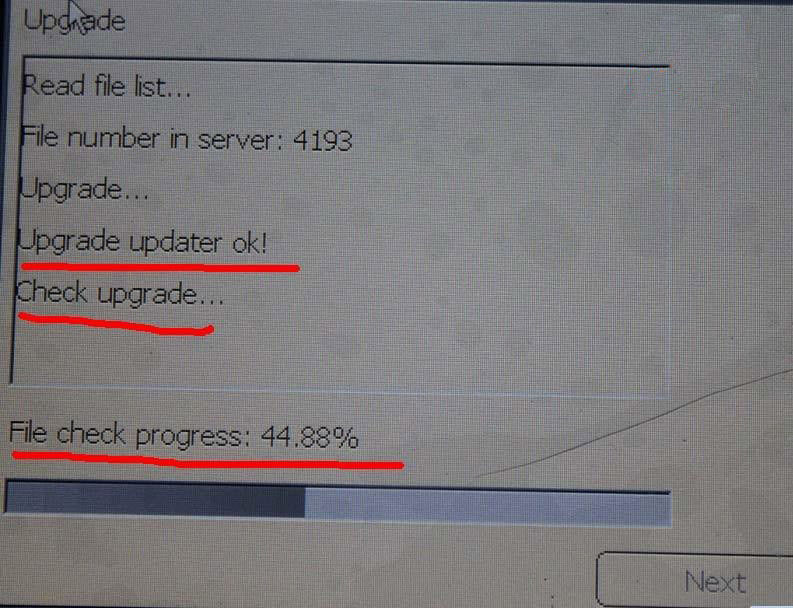
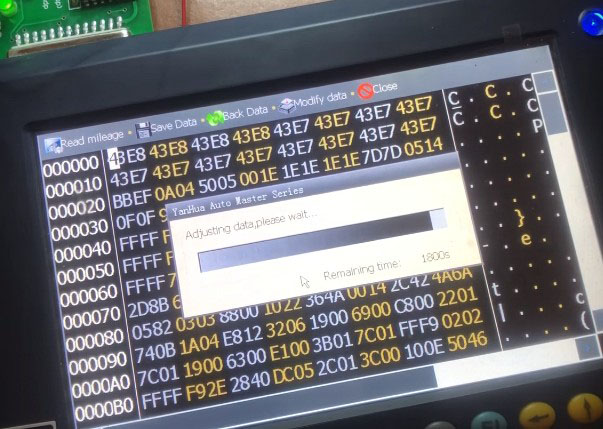
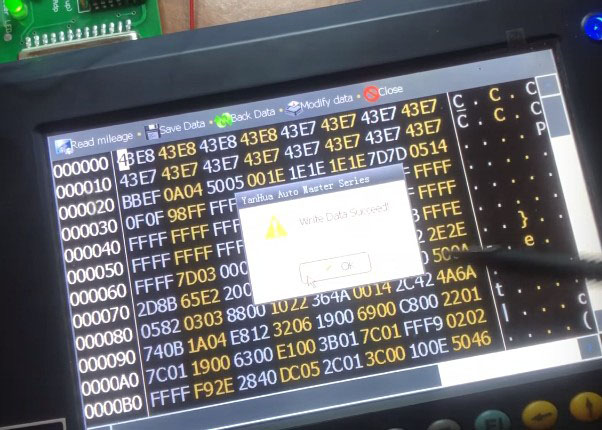
It will remind you “Write Data Succeed”!

How-to-adjust-odometer-Toyota-Camry-by-Digimaster3-12

Step 5:Remove the chip C46 from OBP adapter,then weld chip C46 back on PCB board you remove from Camry instrument.Restore what you disassemble before.Done!

Saturday, August 7, 2021

How to do Digimaster 3 Self-Check


When the software prompts “please connect the self-test adaper to the DB15 interface to the equipment!”, please connect the self-test adapter to the DB15 interface of the equipment and click the “ok” button.
DB15 is normal when 5V LED and 12V LED on the self-test adapter are lighting but 9V LED.
If not the state, it may have been damaged. The testing situation of the internal module will be detected in the message after the testing.

How-to-do-Digimaster-3-Self-Check-1 (2)

If you do not have the self-test adapter, when the software prompts “please connect the self-test adapter to the DB25 interface of the equipment,” please follow the below the wiring operation, it’s the same color points which are rang up,
and connect them together (except which has a voltage identifies), then use a multimeter to measure the voltage of the corresponding point.

How-to-do-Digimaster-3-Self-Check-2 (2)

Check more Digimaster III user manuals and operation instruction

https://www.obd2tool.com/goods-1750-Digimaster+3+Digimaster+III+Original+Odometer+Correction+Master+Update+Online.html

Friday, August 6, 2021

How to update Digimaster 3 via LAN cable + set IP address


This is for those who failed to update Digimaster 3 software, and got error message “download failed…net error, please ensure network ok!”

How-to-update-Digimaster-3-via-LAN-cable-set-IP-address-1

Obd2tool.com tech support:

Digimaster 3 software updated required a LAN cable for connection.

How-to-update-Digimaster-3-via-LAN-cable-set-IP-address-2

And please do automatic IP address setup after sw update.

How-to-update-Digimaster-3-via-LAN-cable-set-IP-address-3
How-to-update-Digimaster-3-via-LAN-cable-set-IP-address-4
How-to-update-Digimaster-3-via-LAN-cable-set-IP-address-5

Reference: Digimaster 3 online update manual

Step 1: plug the power supply to digimaster3 and insert the network cable into the LAN port on the digimaster3 unit.
How-to-update-Digimaster-3-via-LAN-cable-set-IP-address-6

Step 2: select “Management”

How-to-update-Digimaster-3-via-LAN-cable-set-IP-address-7

Step 3: select “Update”

How-to-update-Digimaster-3-via-LAN-cable-set-IP-address-8

Step 4: select “Software Upgrade”

How-to-update-Digimaster-3-via-LAN-cable-set-IP-address-9
Step 5: the machine is upgrading

How-to-update-Digimaster-3-via-LAN-cable-set-IP-address-10
How-to-update-Digimaster-3-via-LAN-cable-set-IP-address-11


Thursday, August 5, 2021

Digimaster 3 changed km from BMW E60 35080


Digimaster-3-changed-km-from-BMW-E60-35080-18

Look here: Digimaster 3 change mileage for BMW E60 35080

Connect Digimaster 3 to the E60 dashboard

Digimaster-3-changed-km-from-BMW-E60-35080-1
Digimaster-3-changed-km-from-BMW-E60-35080-2

In digimaster 3:

Meter system – Europe – BMW – 5 series (E60) – Meter adjustment – 35080

Digimaster-3-changed-km-from-BMW-E60-35080-3
Digimaster-3-changed-km-from-BMW-E60-35080-4
Digimaster-3-changed-km-from-BMW-E60-35080-5
Digimaster-3-changed-km-from-BMW-E60-35080-6
Digimaster-3-changed-km-from-BMW-E60-35080-7

Digimaster 3 and 35080 wiring diagram

Digimaster-3-changed-km-from-BMW-E60-35080-8

Digimaster 3 is gonna read current km: 278144km

Digimaster-3-changed-km-from-BMW-E60-35080-9
Digimaster-3-changed-km-from-BMW-E60-35080-10
Digimaster-3-changed-km-from-BMW-E60-35080-11

Then save data before odometer correction

Digimaster-3-changed-km-from-BMW-E60-35080-12

Enter new km to change: 330350

Digimaster-3-changed-km-from-BMW-E60-35080-13
Digimaster-3-changed-km-from-BMW-E60-35080-14
Digimaster-3-changed-km-from-BMW-E60-35080-15
Digimaster-3-changed-km-from-BMW-E60-35080-16

Read out the new km to make sure the correction is successful

Digimaster-3-changed-km-from-BMW-E60-35080-17
Digimaster-3-changed-km-from-BMW-E60-35080-18

The new km now is 330336km

Success!